Project Playroom Transformation
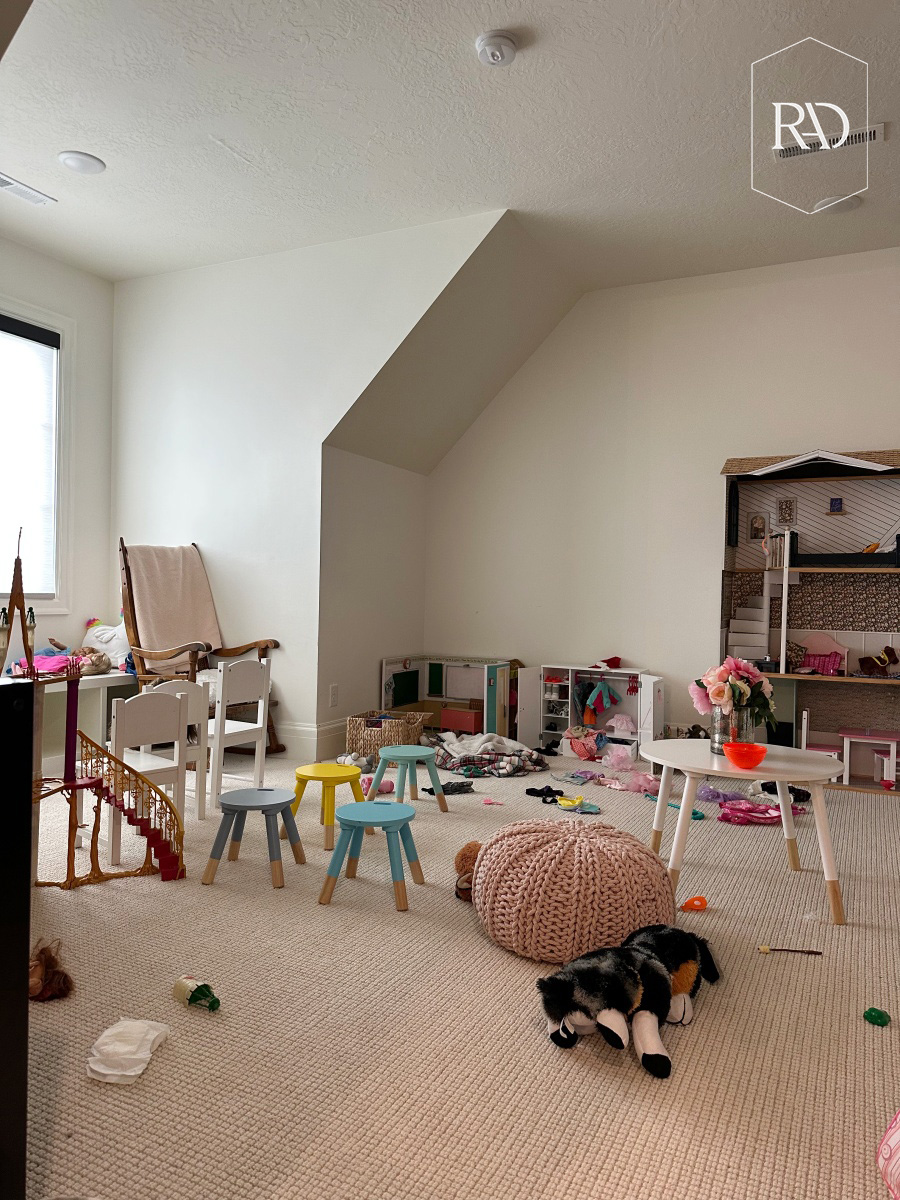
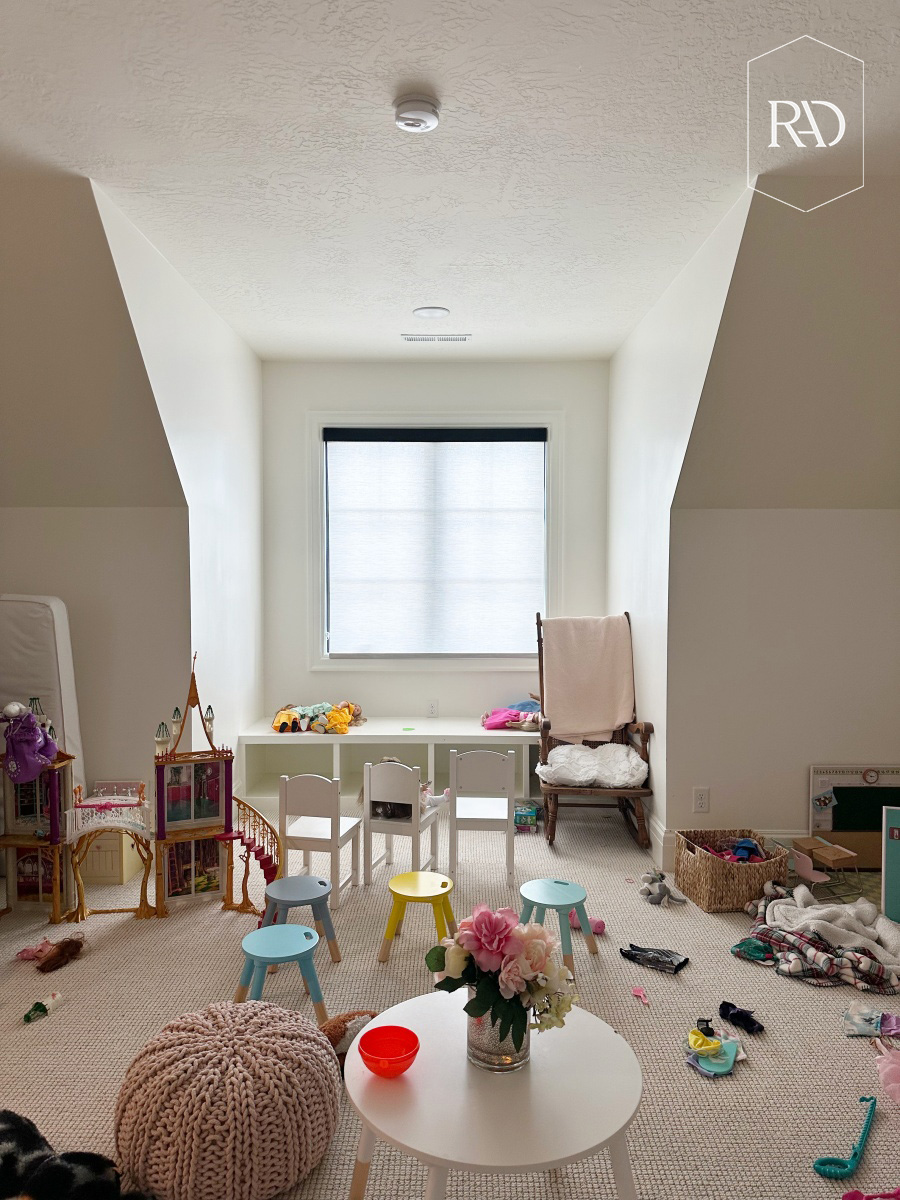
Project playroom transformation is complete! Before its makeover, our playroom was one of the rooms of the house I hardly ever shared. Usually because it always looked like some form of the before photo you’re seeing below. Toys everywhere. No organization or storage. And no creative touch. I decided I wanted that to change. I wanted this to be a space for my kids that sparked their imaginations.
Project Playroom Transformation
We started project playroom with a cleanout. We were in major need of going through things, purging, and donating. I’d highly recommend starting any room transformation with a cleanout. That way you’re only bringing what’s necessary into the new space.

The Paint
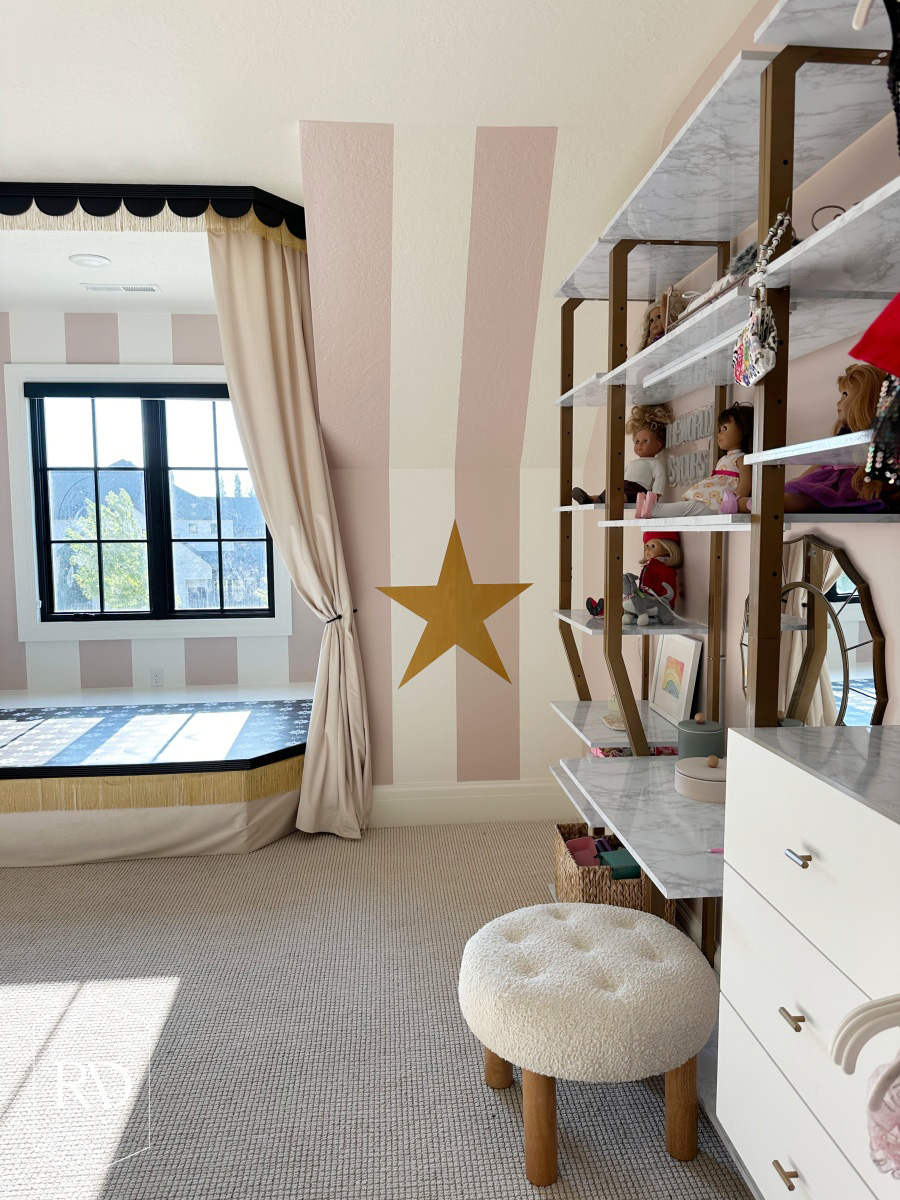
After the space was cleaned out, we started with the paint. The paint color is the same one I used on the stripes in the girls’ room, which is Abalone Shell by Sherwin Williams. It’s the perfect muted pink. So it’s not in your face, but still so pretty. I painted the main wall solid and added stripes to the angled walls and around the window. Tap HERE for a step by step tutorial on how to paint perfectly straight lines!
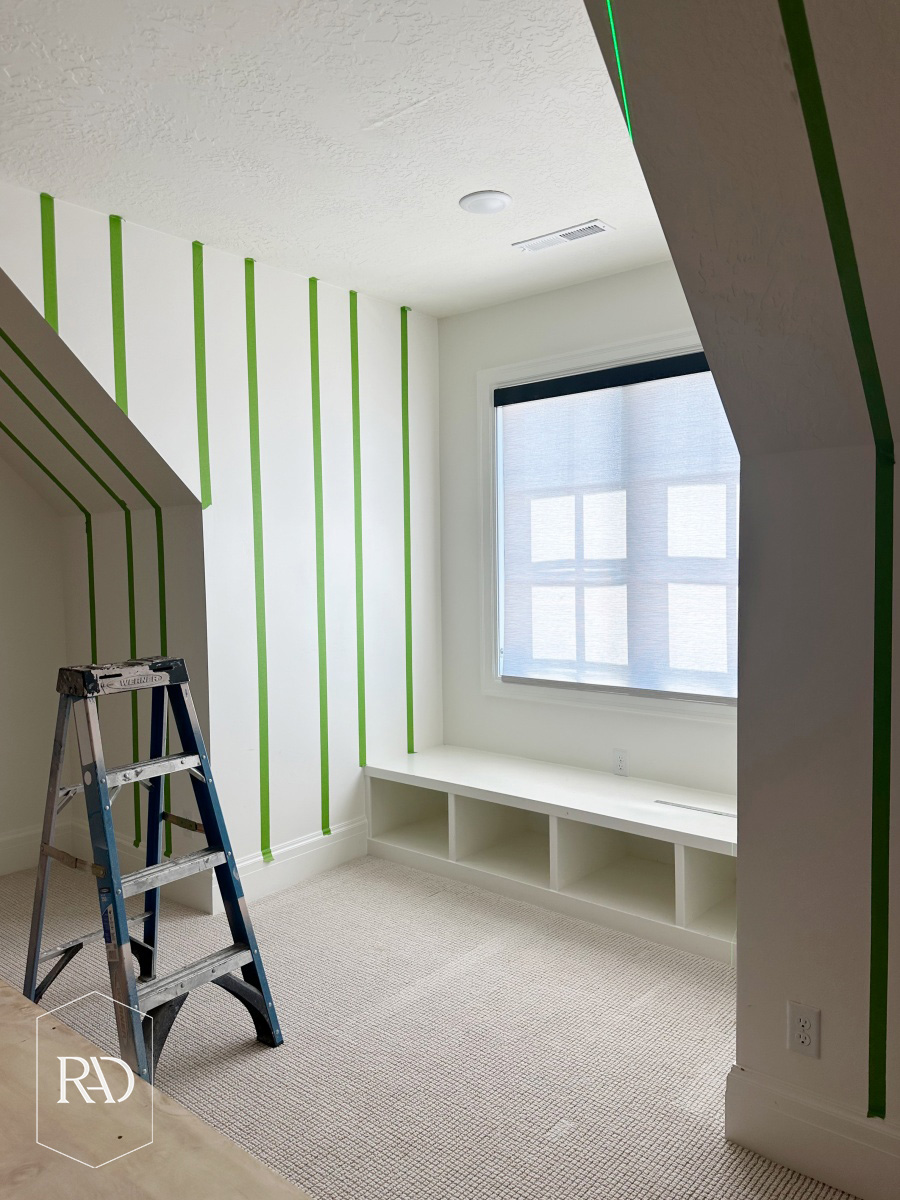
Tip: Pull off the painter’s tape while it’s still wet to get perfect, crisp lines.
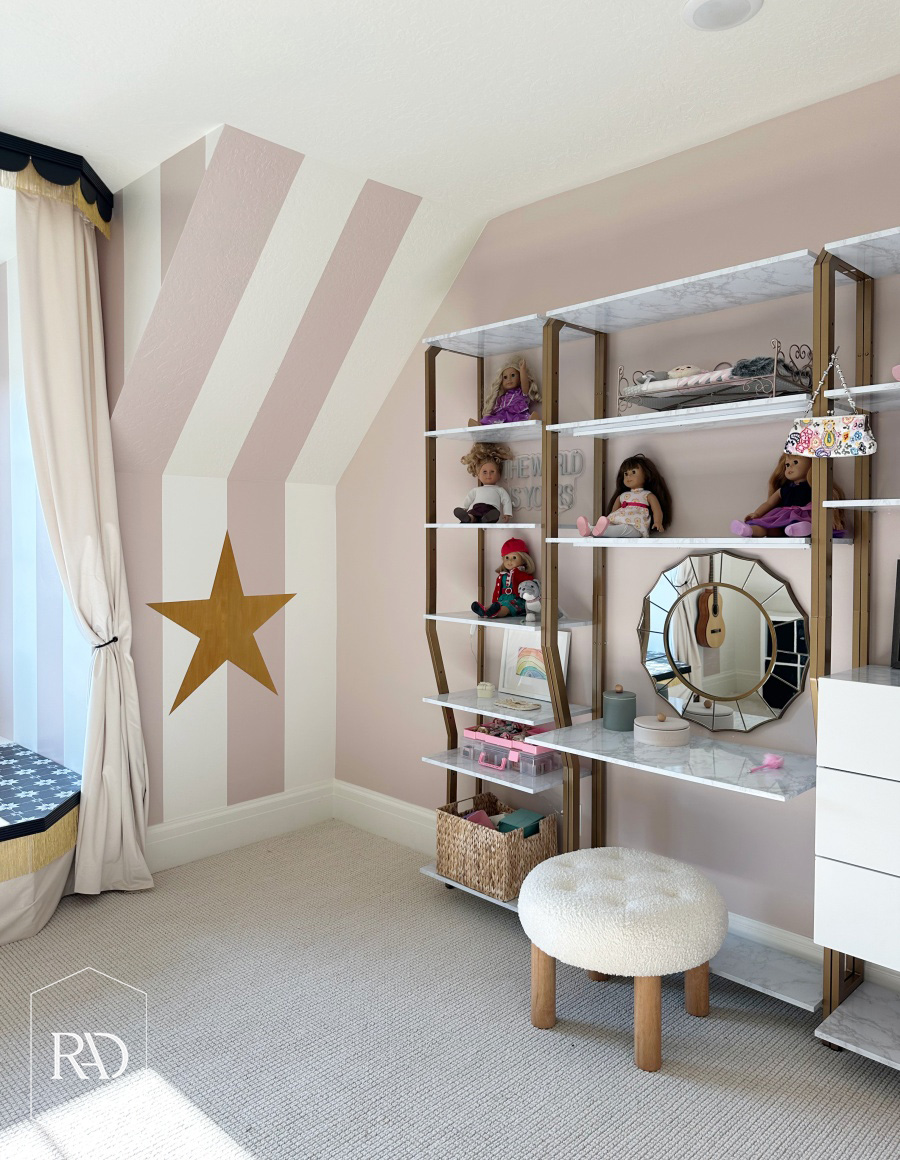
The Shelves
Once the paint on the main wall was dry, it was time to install the shelving units I bought. I got these cute shelving units that can be customized for a closet or a wardrobe like shown here. It is so nice that you can easily rearrange the shelves to best suit your space. What is also great about them is that you can purchase them separately or as a collection. The section with the vanity is probably my favorite. I just think it’s so fun that they can sit and get ready there. With the layout finalized, we secured the shelves to the wall. You can purchase these units on AMAZON or on Walmart.com.
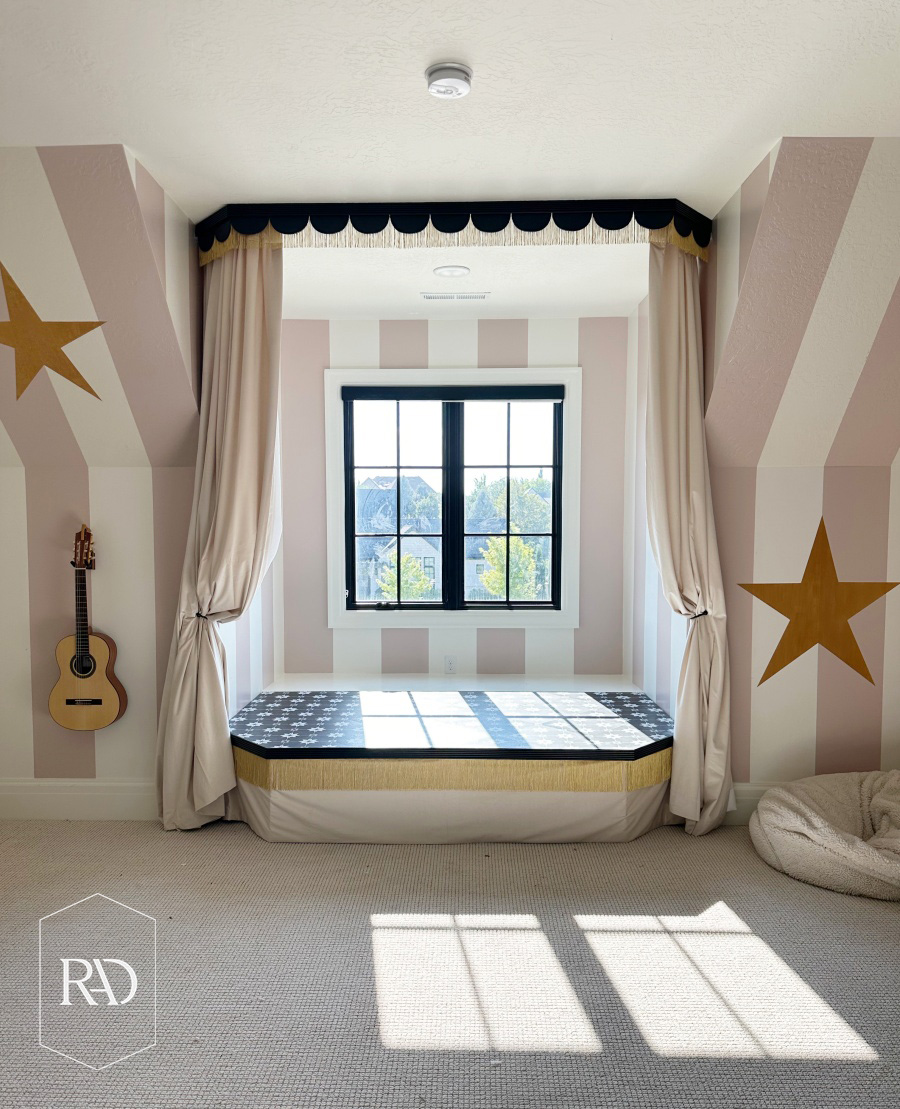
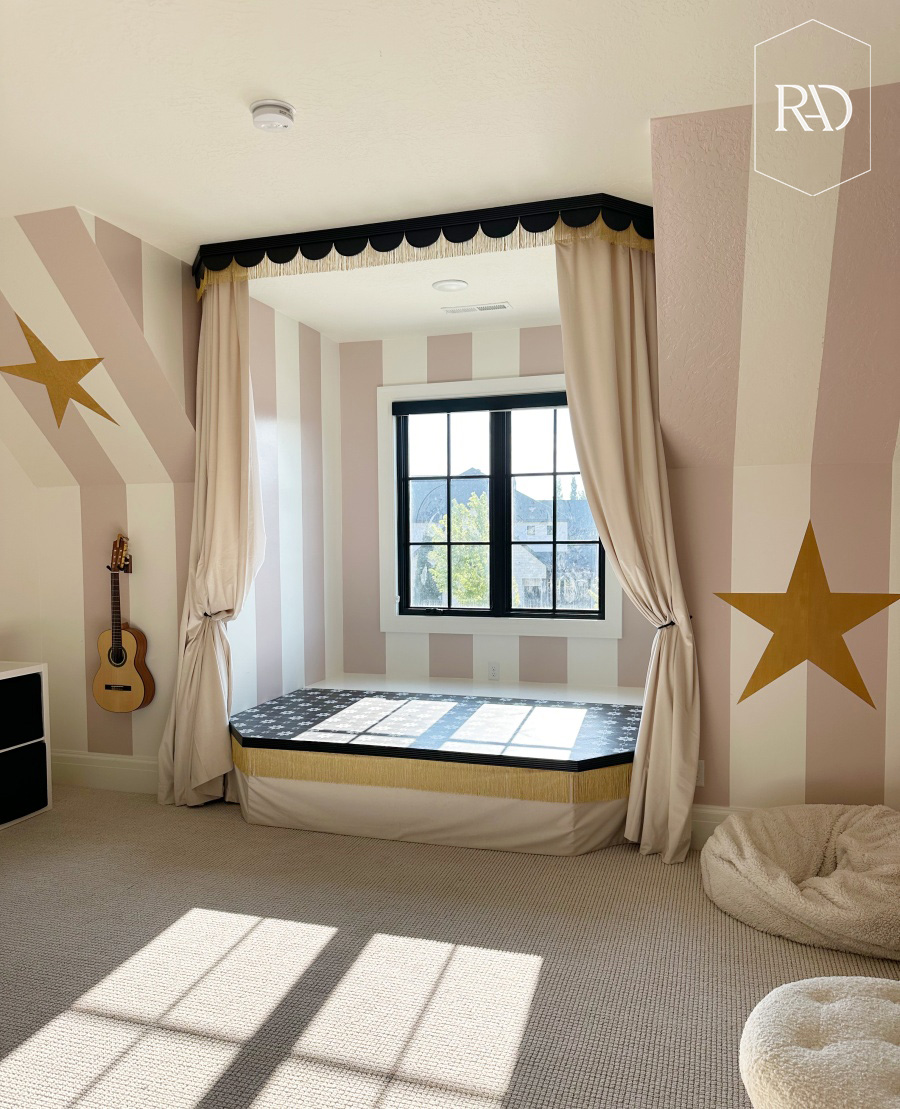
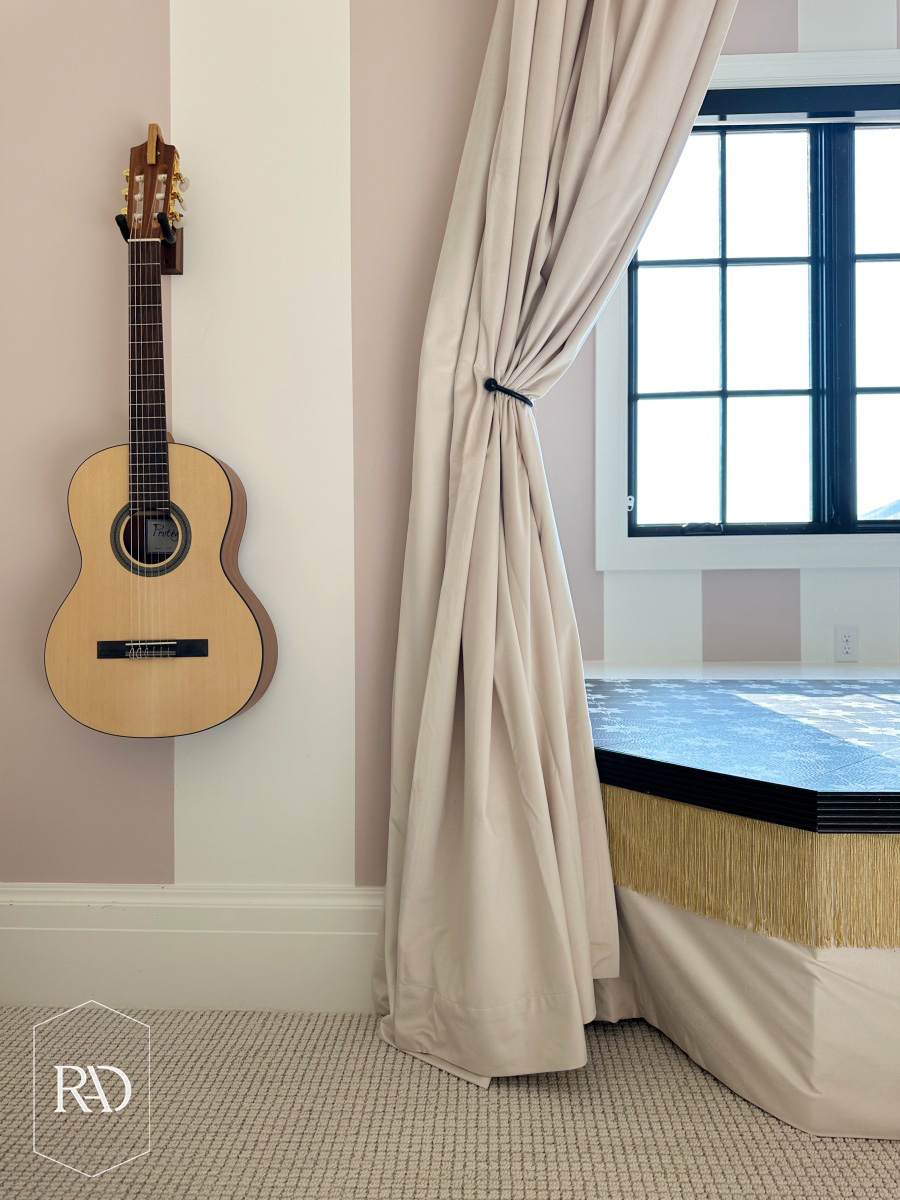
The Stage
To surprise the kids, I wanted to build a stage in the window alcove. For this, I just used a couple of 2x4s and a sheet of plywood. I cut my pieces down to size and framed out the stage, and then cut the front corners into angles so they wouldn’t be as much of a sharp hazard. After it was framed out, I covered the stage with peel and stick tile, which I also found on Amazon. I did a whole post on other Peel & Stick Tile DIYs that you can do around your house! The final step to the stage was to apply the trim to the front edges.
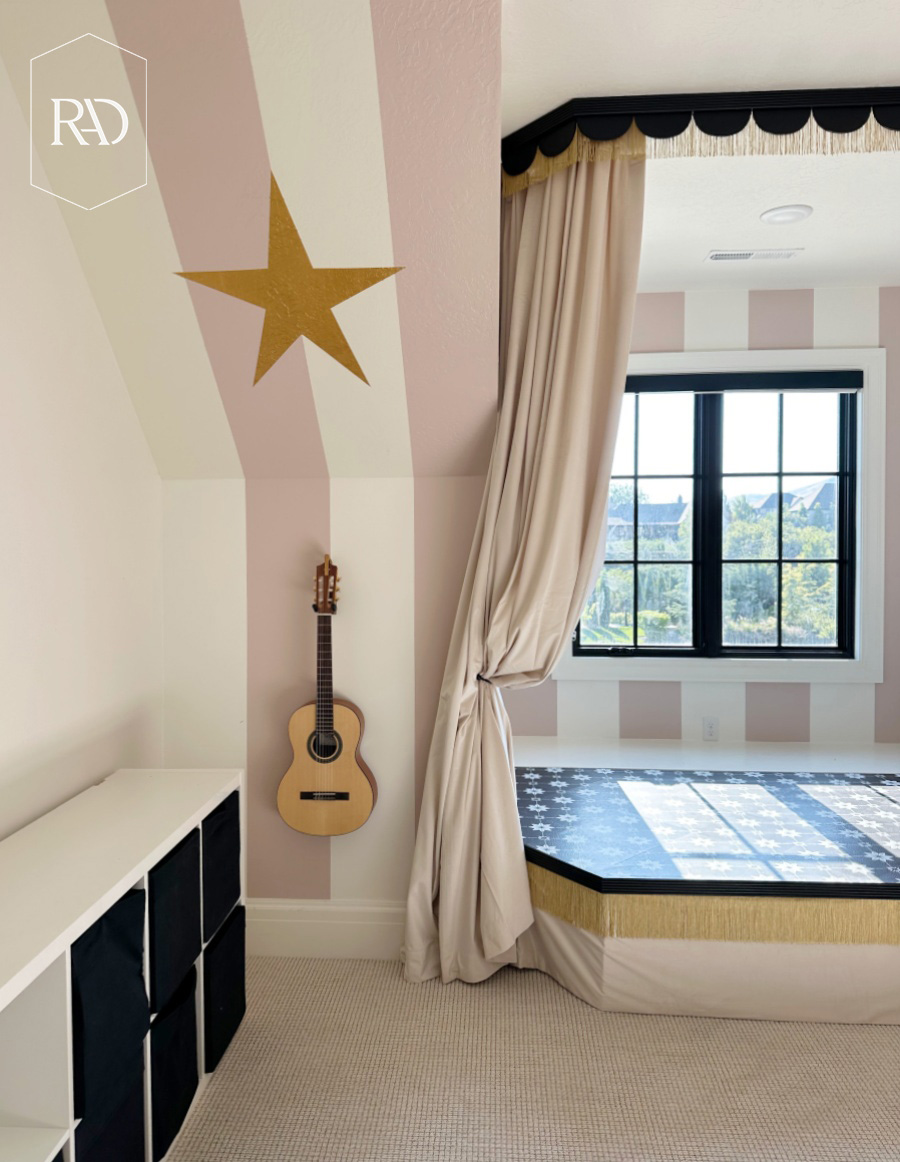

I installed a bendable curtain rod to the ceiling so that they could have working curtains to draw for their performances. Then I added some scallop trim and fringe for a little extra flair. And I don’t know who was more excited for the stage, Chris and I or the kids. Because, let me tell you, we had a blast putting this area together. I added a couple of gold painted stars to the walls and hung a guitar to finish this section of the room. Fun fact, all of my kids play guitar! Here’s the link to the wall mounted guitar holders.
Now we have 2 of the 4 playroom walls finished and this week in Instagram stories, I’m working on finishing the entire space as a whole. I still have a few fun projects planned for this playroom, so stay tuned. The kids love their new playroom so much and I hope it sparks their creativity and imagination in the ways I thought it would. What do you think of this project playroom transformation so far?

 Add to favorites or read later