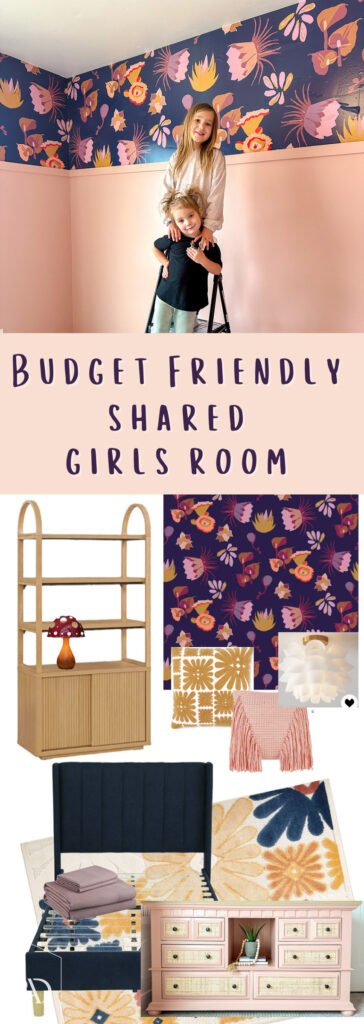
Budget Friendly Shared Girls Room
If you’re looking for girl’s room inspiration, look no further! This week I’m sharing my latest project, which is a budget friendly shared girls room at my sister Alyse’s house for my nieces. You might remember last year when I did a colorful tween girl room transformation for my other niece. Well, these are her sisters! They are 7 and 3, and now that they need to fit two twin beds into the room, it was time for a budget friendly shared girls room transformation that is just as bold and as playful as them!
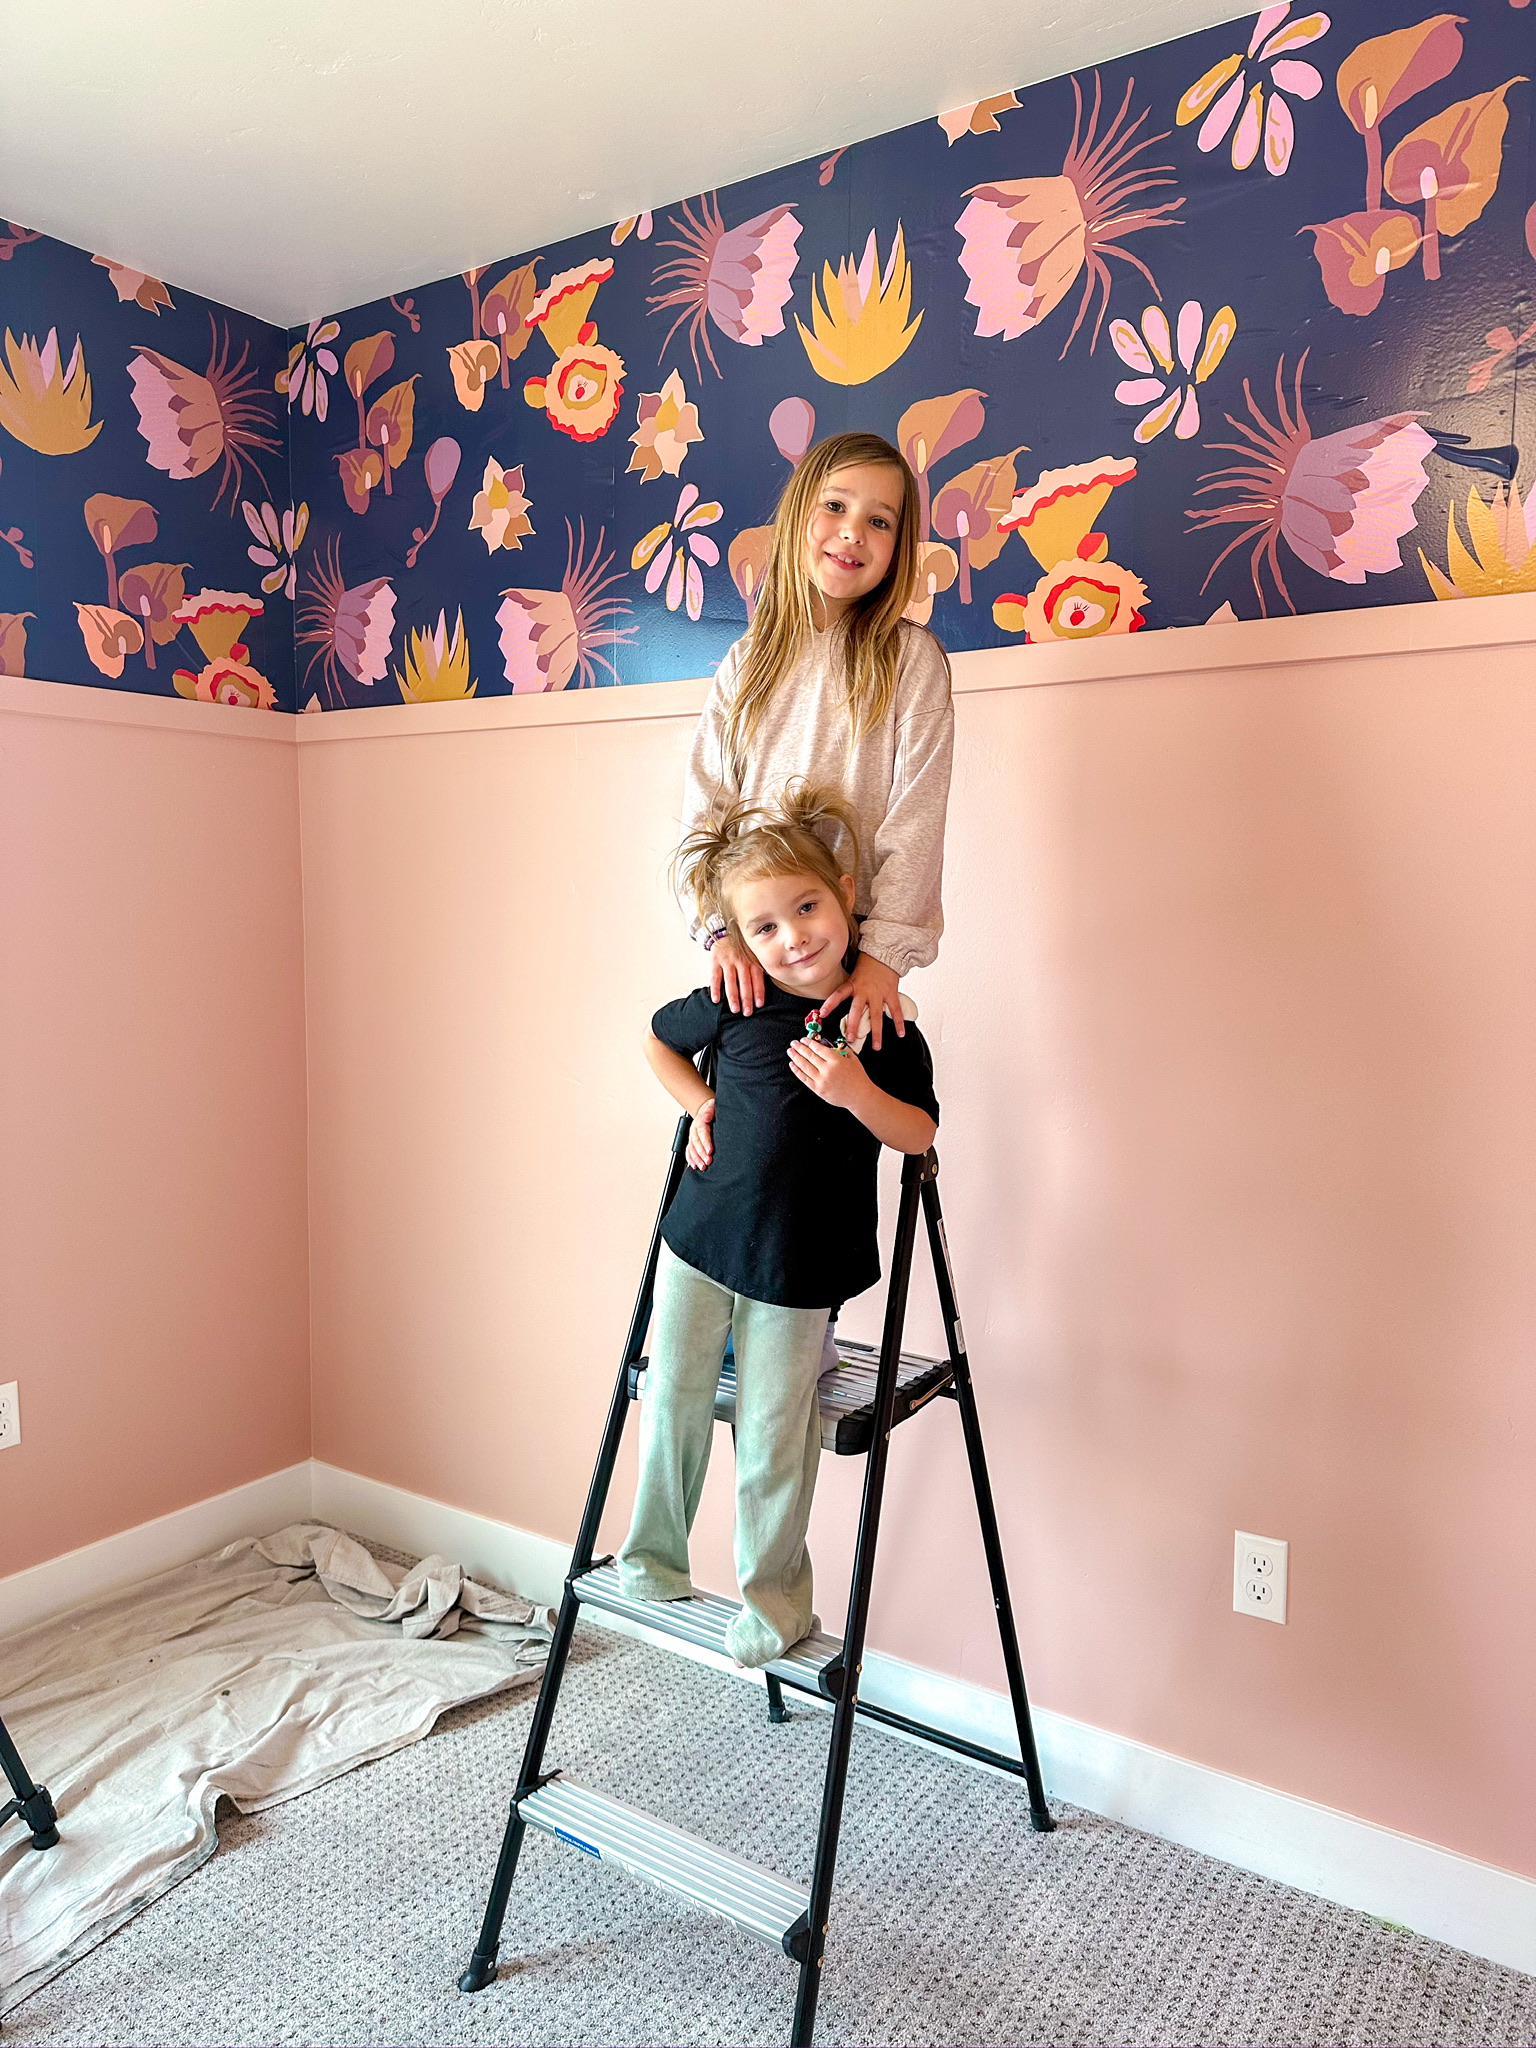
To start, I taped things off. Not to paint, but to help Alyse get a better idea of the space and where things would go. I highly recommend doing this if you’re someone who has a harder time imagining the scale of things. You can do this with rugs, lighting, beds, furniture, you name it!
Budget Friendly Teen Girls Room Design
As for the design, my nieces’ only request was that the walls be pink and blue. So I ran with that, because I want this room to be so fun and full of color! I, of course, wanted to bring in wallpaper to add some pattern. So I chose this one from Walmart. I’ve never actually used wallpaper from Walmart before, so I was very interested to see how it went up.
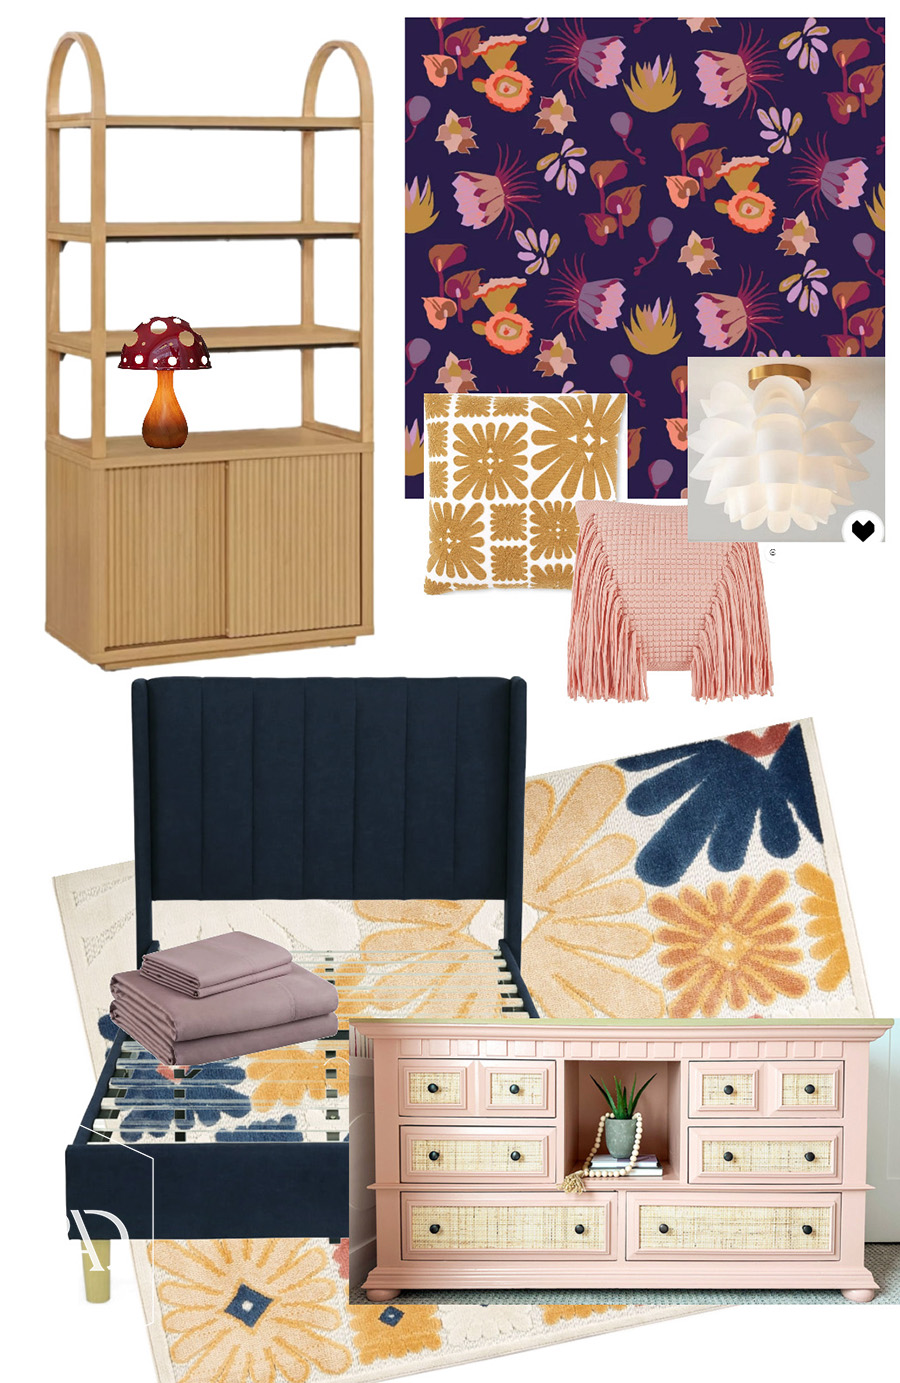
Tap the image above to shop the design!
To balance the pattern of the wallpaper, I picked out a bold patterned rug. And then for storage we got this amazing fluted shelf, also from Walmart. It’s so easy to assemble, such good quality, and affordable. The girls love the cabinet portion of this shelf to store all of their special treasures out of sight.
And then, you may remember this DIY Vintage Dresser Flip with Cane Detail that I did last year. Well it is absolutely perfect for this room, so we’re bringing it in here.
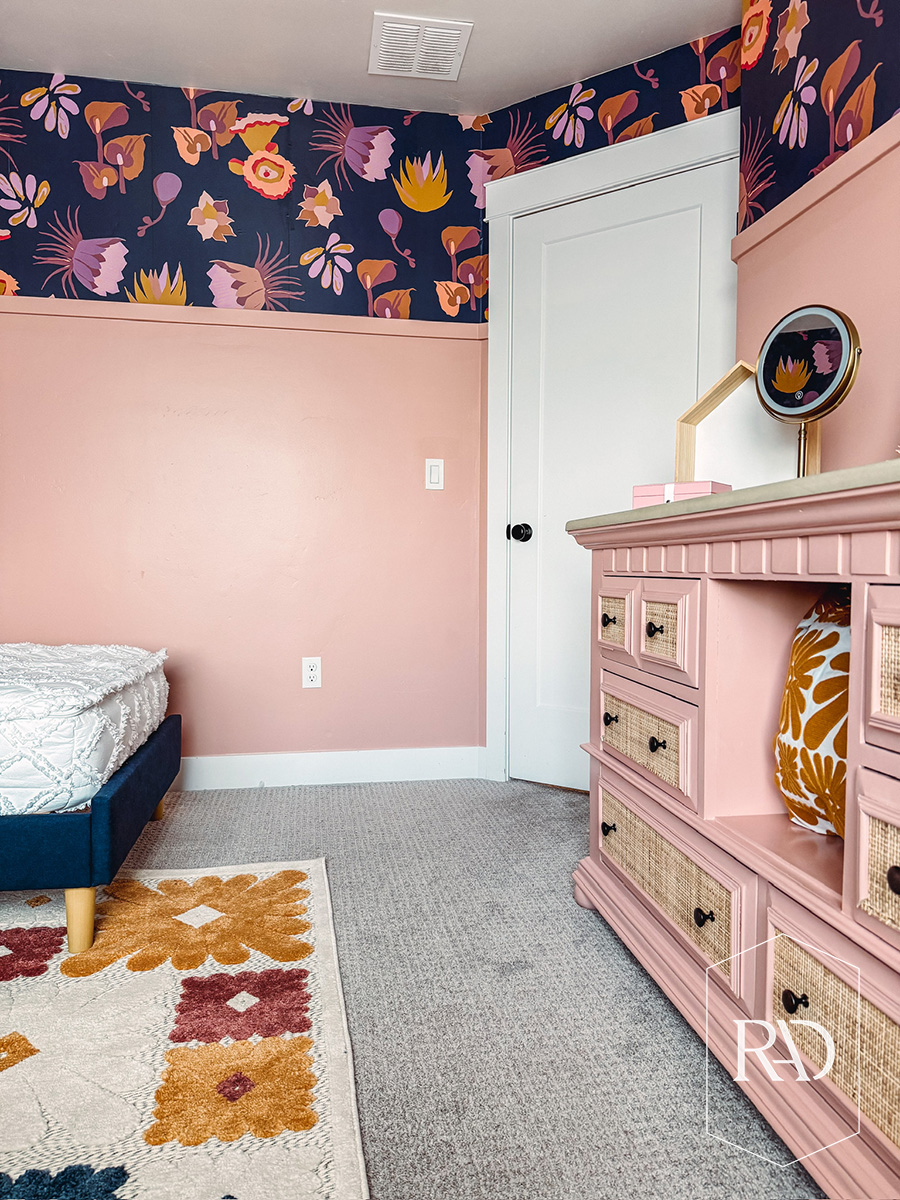
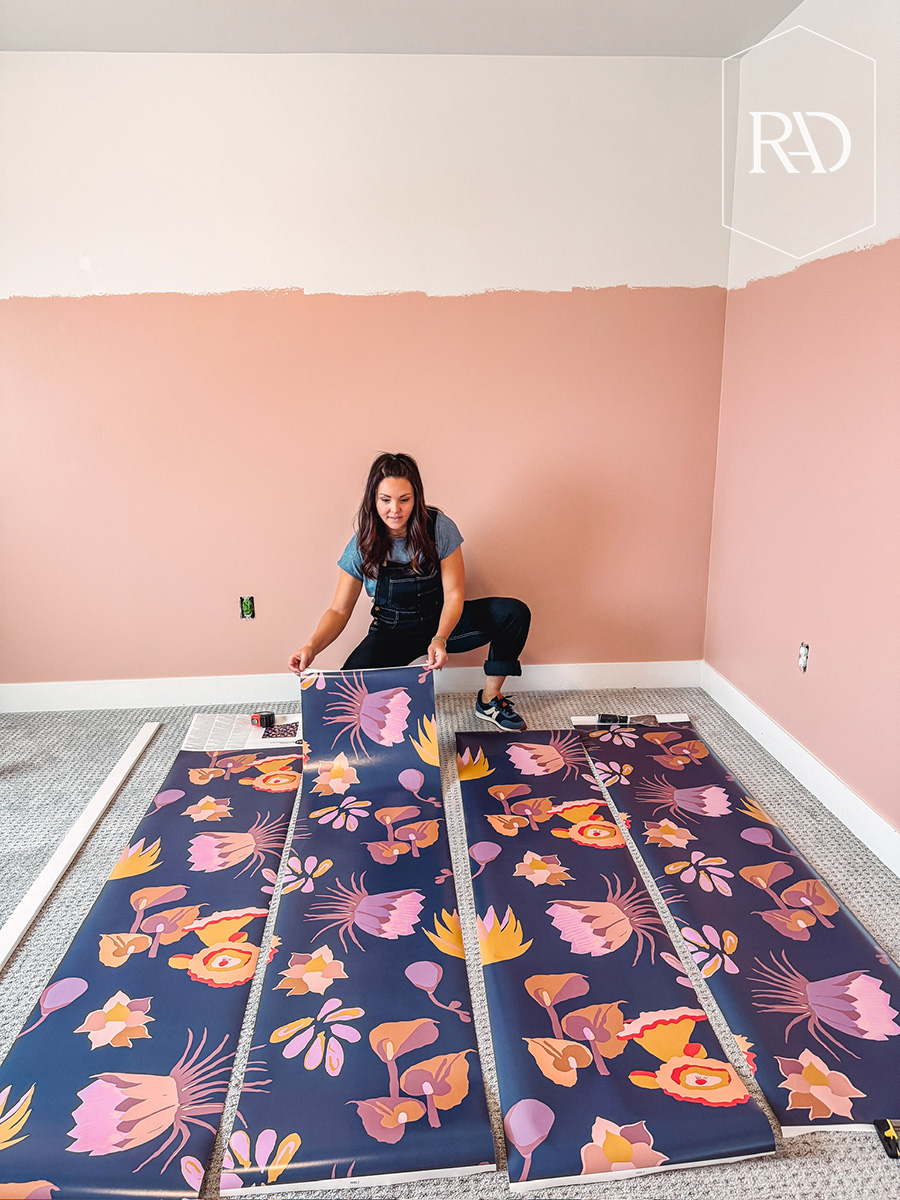
After the design, we started with the walls. Alyse went through and patched and prepped everything for me, and then, I started with the paint. The color is the most perfect pink, Flower Pot by Behr in a scuff defense and eggshell finish. Because after all, this is a kids room. I painted two-thirds up the wall, and then hung trim along the top of that.

And then the wallpaper went up.
When wrapping a room in wallpaper, it’s important to keep in mind that in the end, the pattern is probably not going to line up exactly. So always look for the most inconspicuous corner to start and end the room in. I chose the corner that’s sort of hidden behind the door.
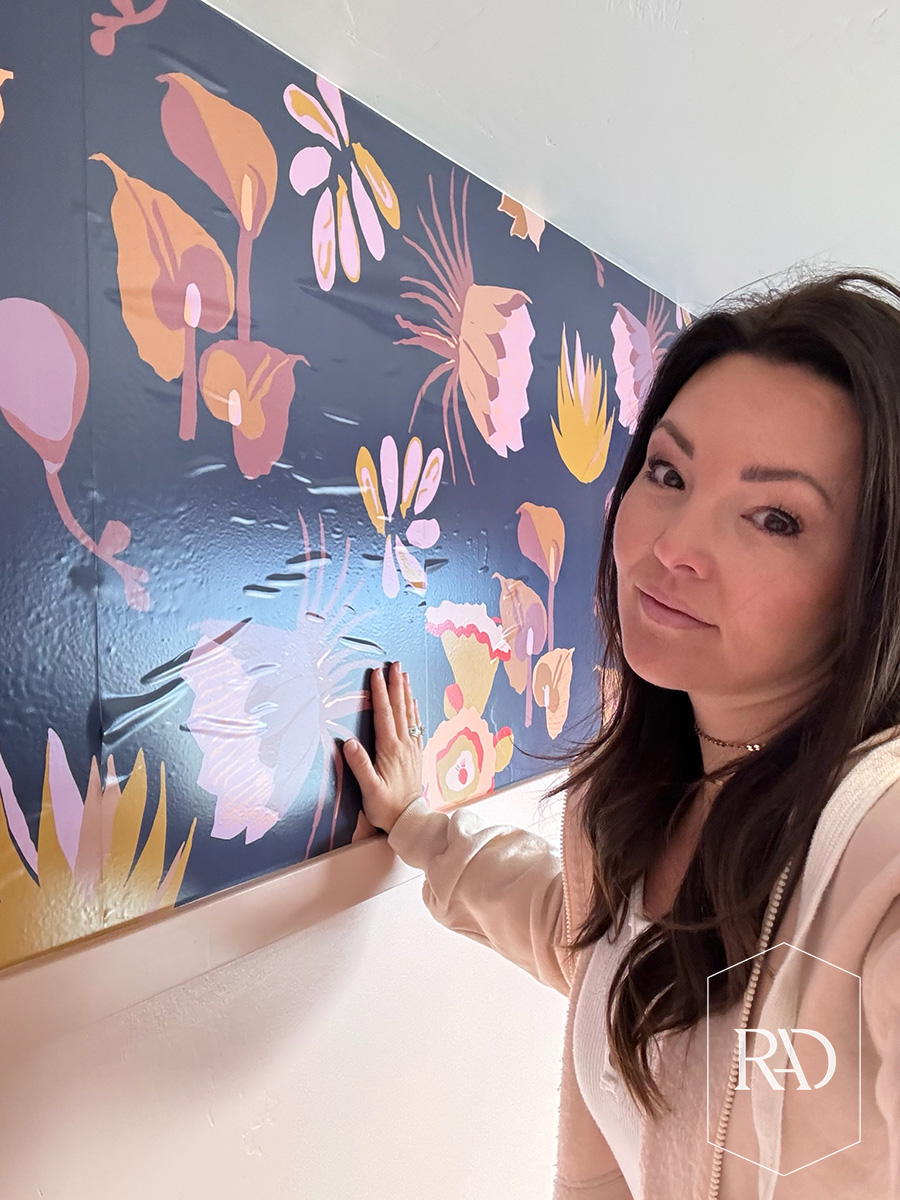
This wallpaper specifically is peel and stick, and I go through some of the advantages and disadvantages of peel and stick wallpaper in this blog post. One of the advantages is the easy removal. And one of the disadvantages is that once it’s on the wall you can’t slide it around to get rid of air bubbles.
I say this because I, unfortunately, had an air bubble incident. Many air bubbles in fact. This was a user error though! This wallpaper specifically says not to use it on textured walls. My sister’s walls are slightly textured, but I figured I’d try it anyway. So when I came back the next day after hanging it, I realized that some of the panels had formed tons of air bubbles. But no need to worry, I’ve figured out a way to fix that. All you need to do is remove the peel and stick panel, coat the back with Roman’s wallpaper paste, and rehang it. And that should take care of all of your bubbling problems.
I absolutely love how bright and bold this budget friendly shared girls room is turning out to be. So stay tuned as we wrap it up and style the finished space.

 Add to favorites or read later