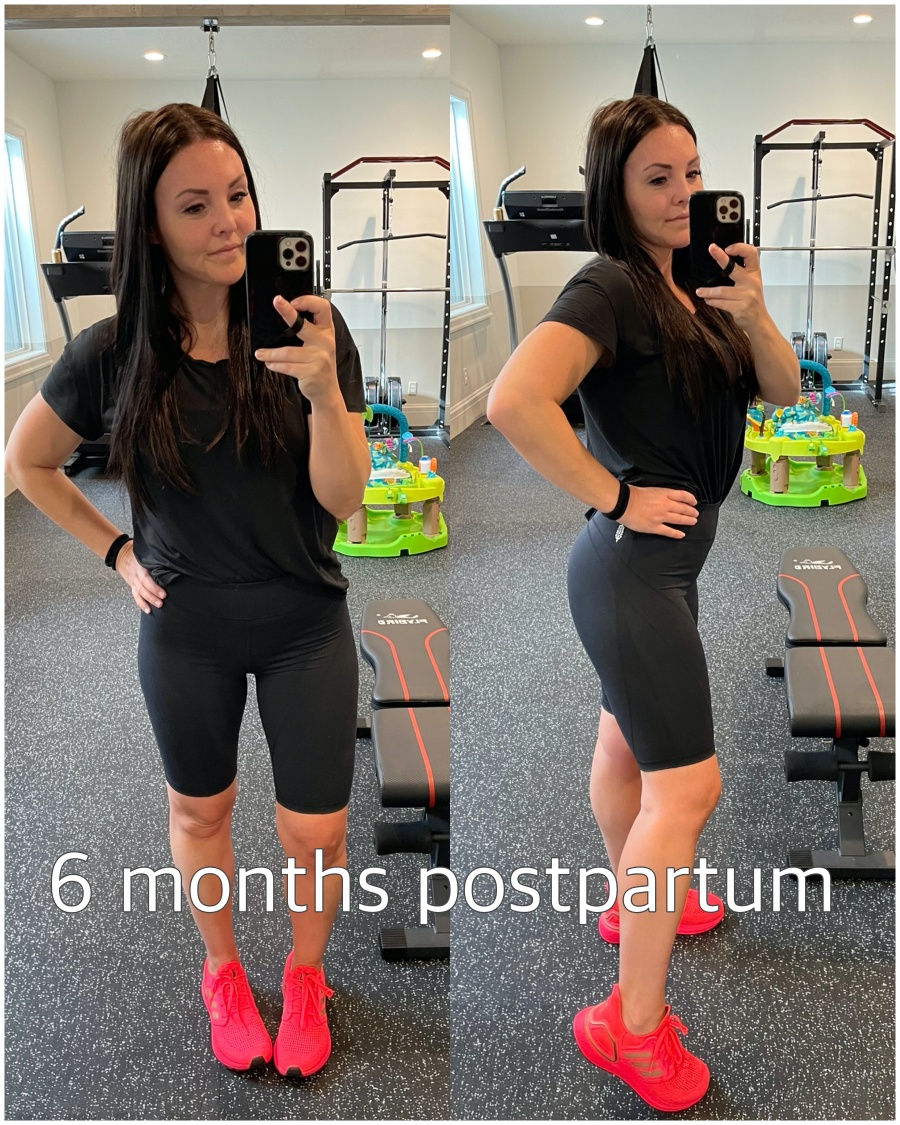
My Home Gym Reveal was a project I put a lot of passion into, and was so excited to see how much passion and interest you all had for creating your own home gym! I started this project when I was 5 months pregnant, and finally finished 6 months postpartum.
I love to move everyday, and truly working out is a great outlet for me! This is now one of my favorite rooms in the house! It brings me peace and getting my blood flowing is an excellent stress reliever! My whole family actually uses it and baby Juni loves to play in her baby Einstein saucer while we get my workout on! I am so excited to finally share this project and let you inside our Home Gym!
I had more questions asked about this project than I have in a long time, so I pulled everything together in a thorough Q&A! Answering everything here and also sharing my go to Home Gym workout routine here.
Here’s how the projects went down for our Home Gym:
First I added the glass wall with molding – purchased mirror custom from local glass shop to fit my wall dimensions. I won’t give the name of the shop because honestly it wasn’t a great experience, but any local glass shop should be able to cut mirrors custom to your room size! I installed the surrounding molding myself! You know I love a good molding project!
Then we removed carpet and painted the wainscoting chair rail – Here is a tutorial on wainscoting. I live for Frogtape when working on these projects!
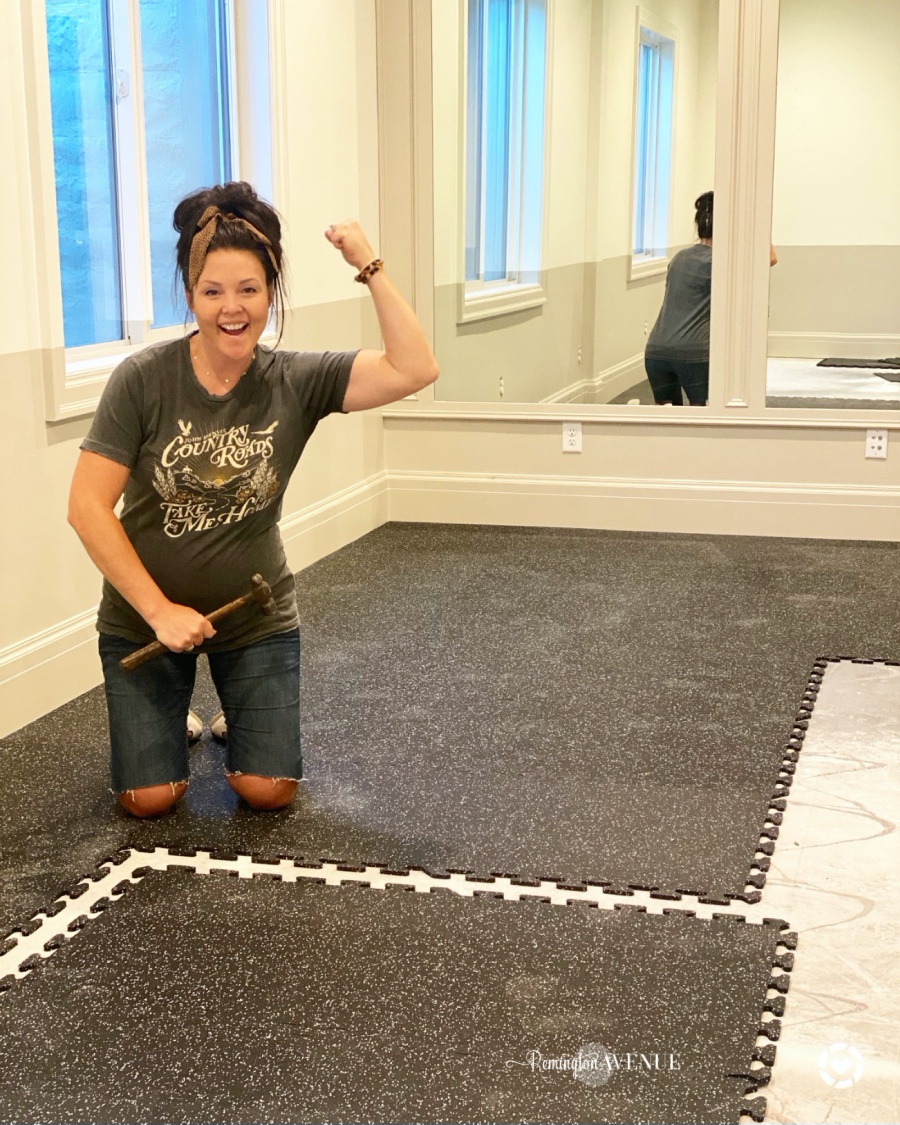
After that, We installed these rubber floor tiles, and I love them! I definitely recommend the tiles vs the rolls of rubber flooring. All rubber flooring is heavy, but these are much easier to manipulate and cut down to size. Tip: Order rubber flooring with a speckle, it hides dust better than the solid black! Notice how the puzzle piece ends practically disappear?!
Also Note: rubber flooring does have an aroma that will last about 2 weeks post install. Make sure to keep the space well ventilated during that time.
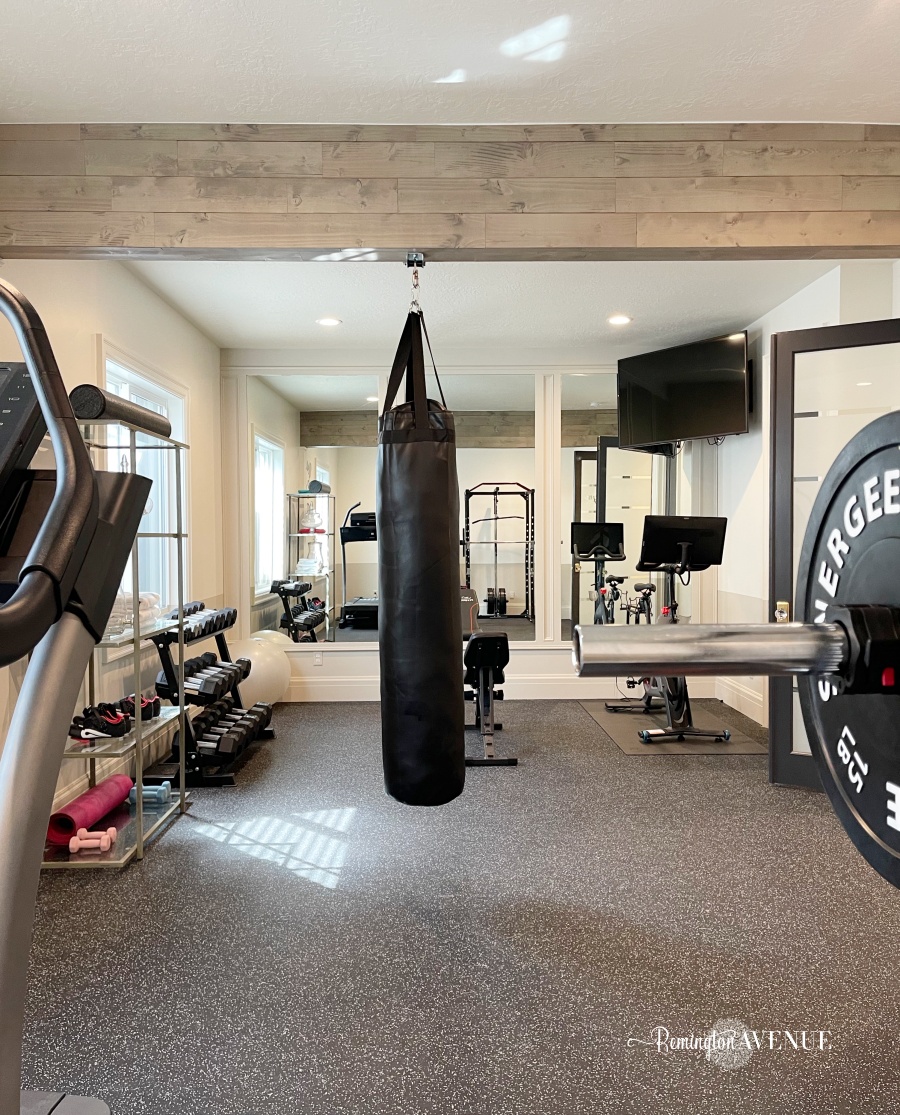
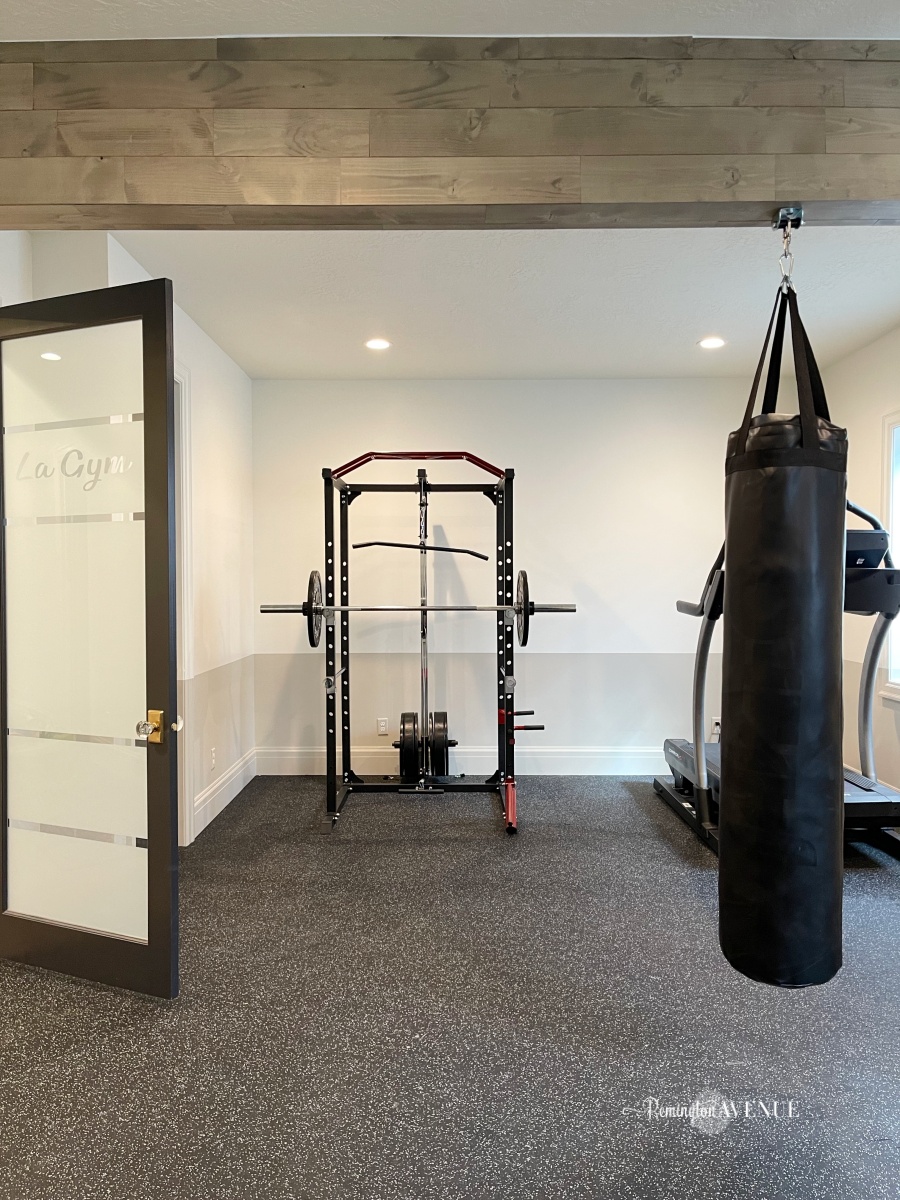
For our Home Gym Reveal, we used stikwood and wrapped the wood beam. I also used this product to wrap my sons soffits in his bedroom.
Sharing tutorial on that DIY here! From the beam, we hung the bag! I purchased this bag, which came with all the hardware to hang it. Since my center beam is a wood structural beam, it was super easy to drill right in! I can’t tell you how much I love working that bag with my son. He just got his blue belt in karate!
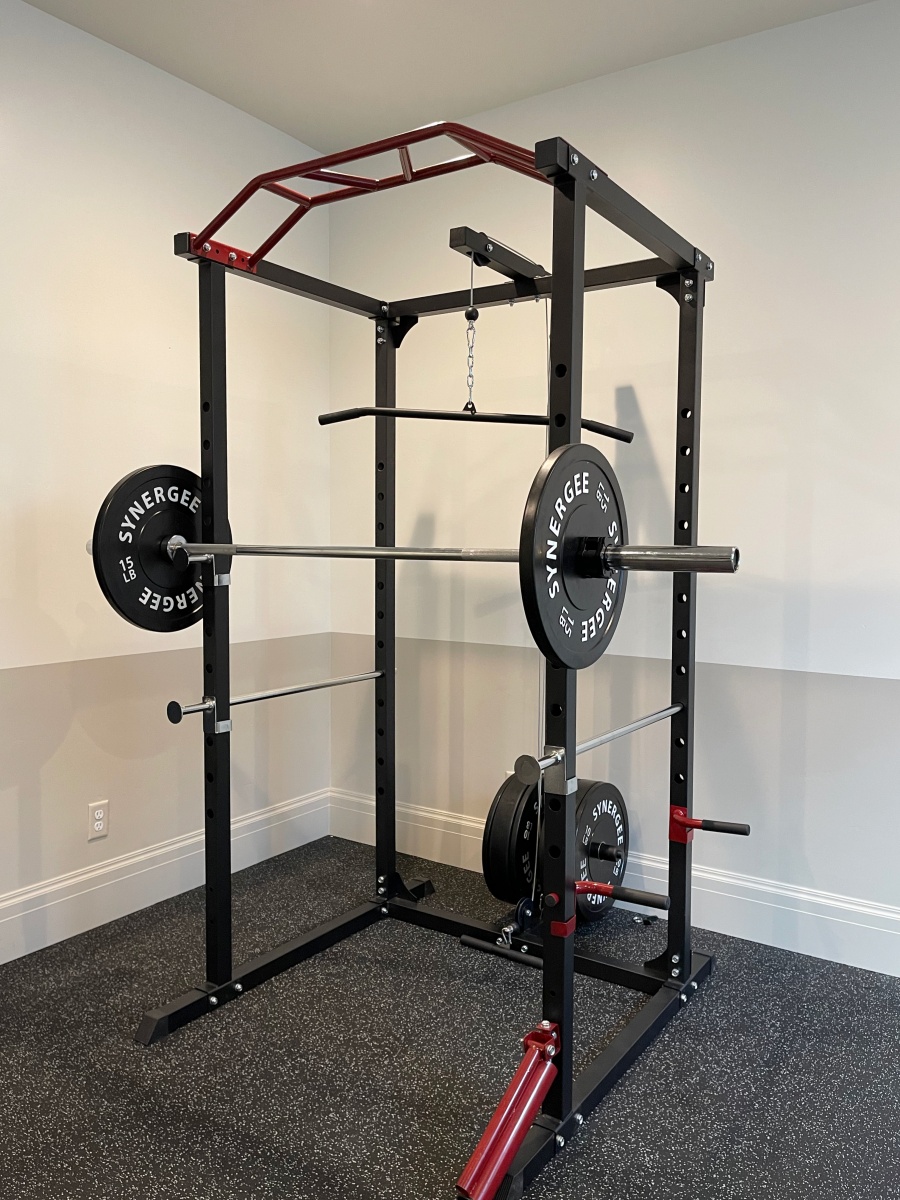
Here is a breakdown of all the equipment and link details:
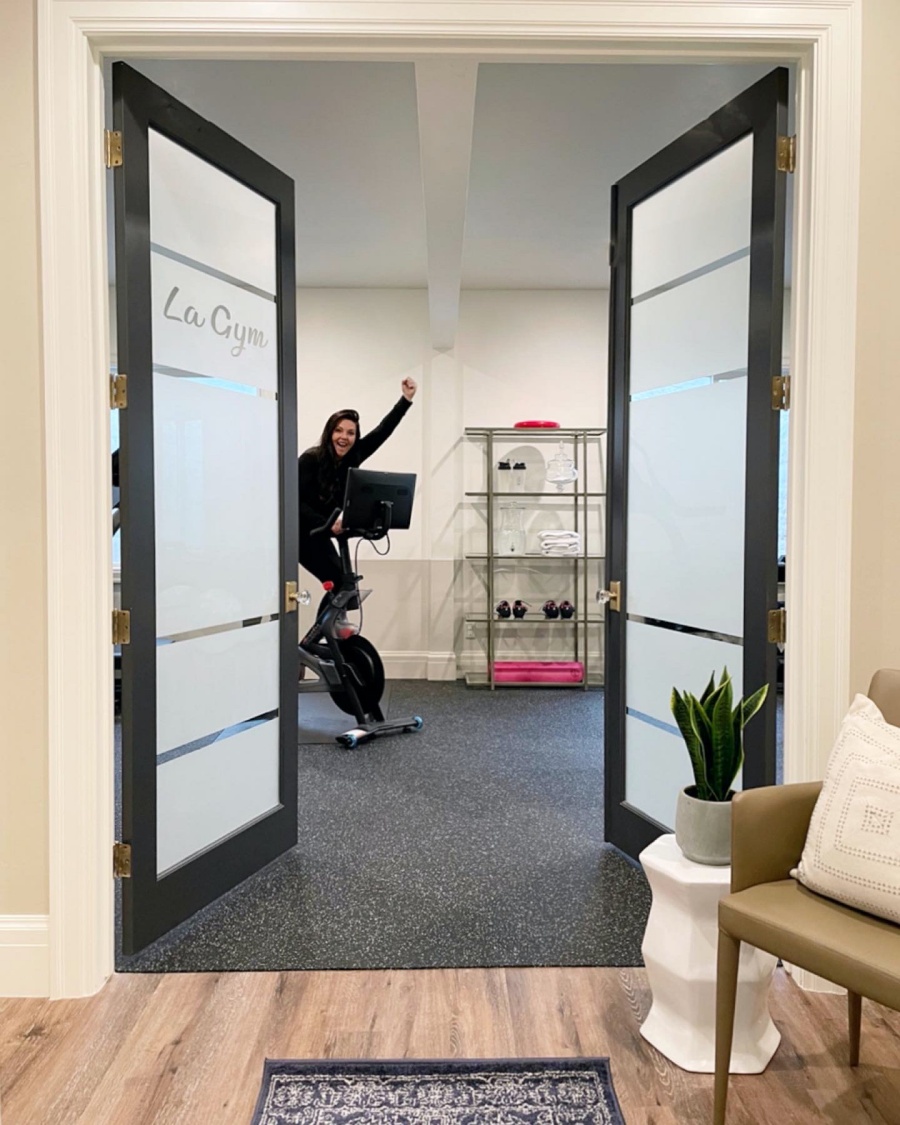
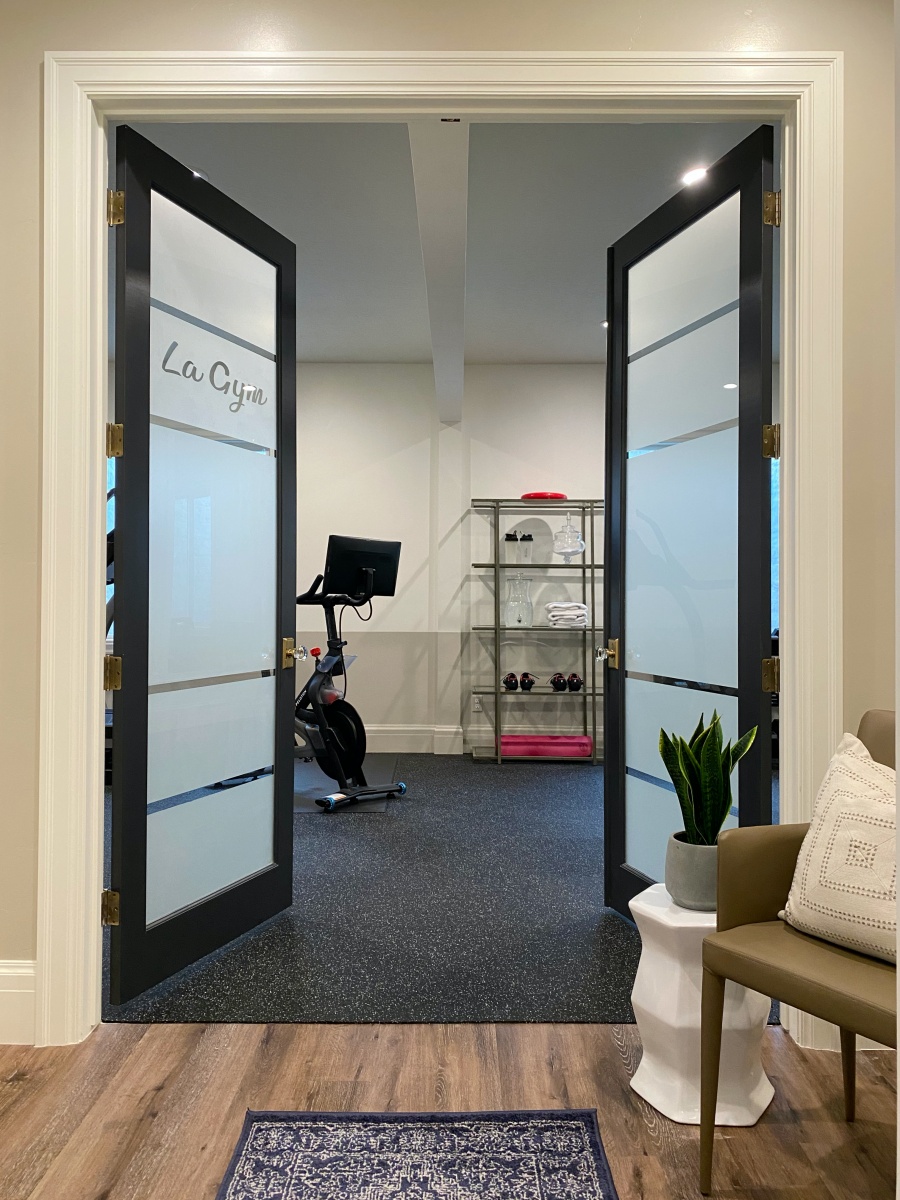
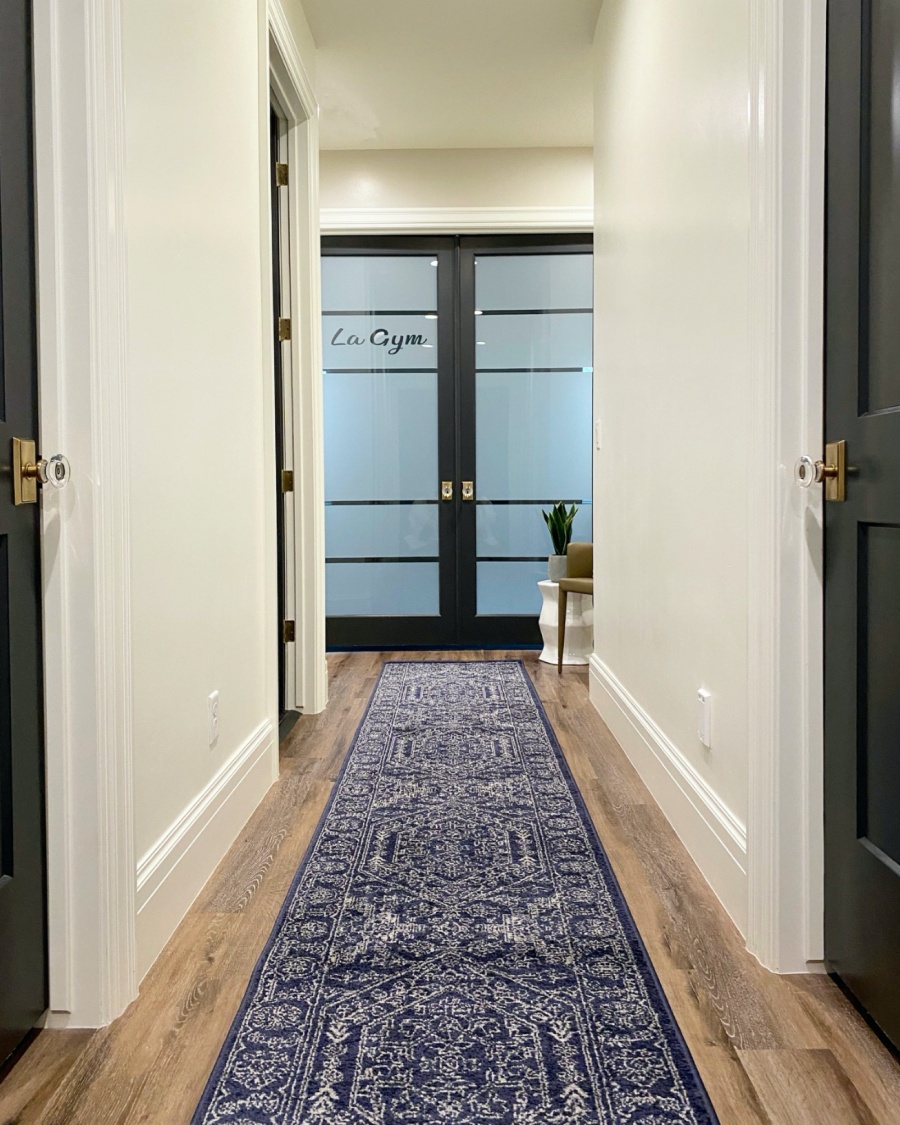
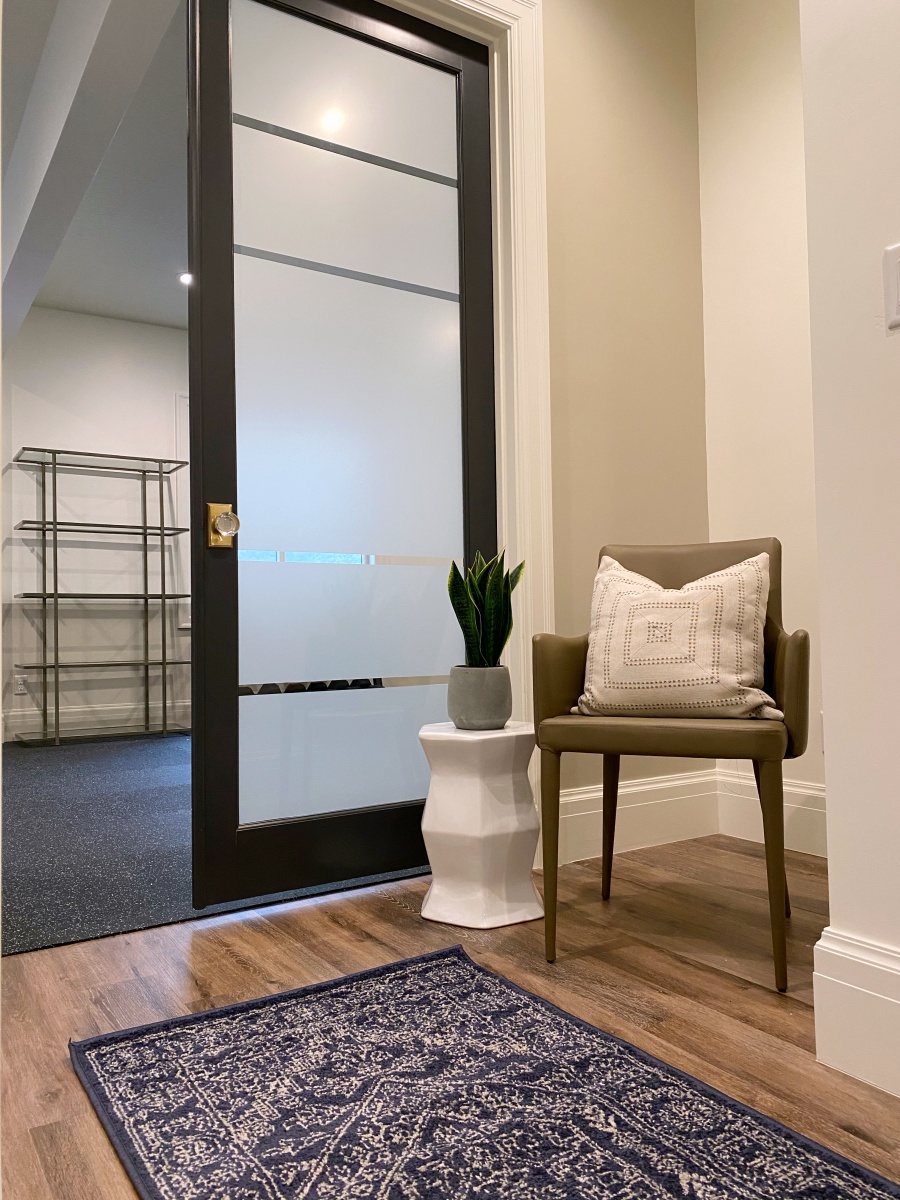
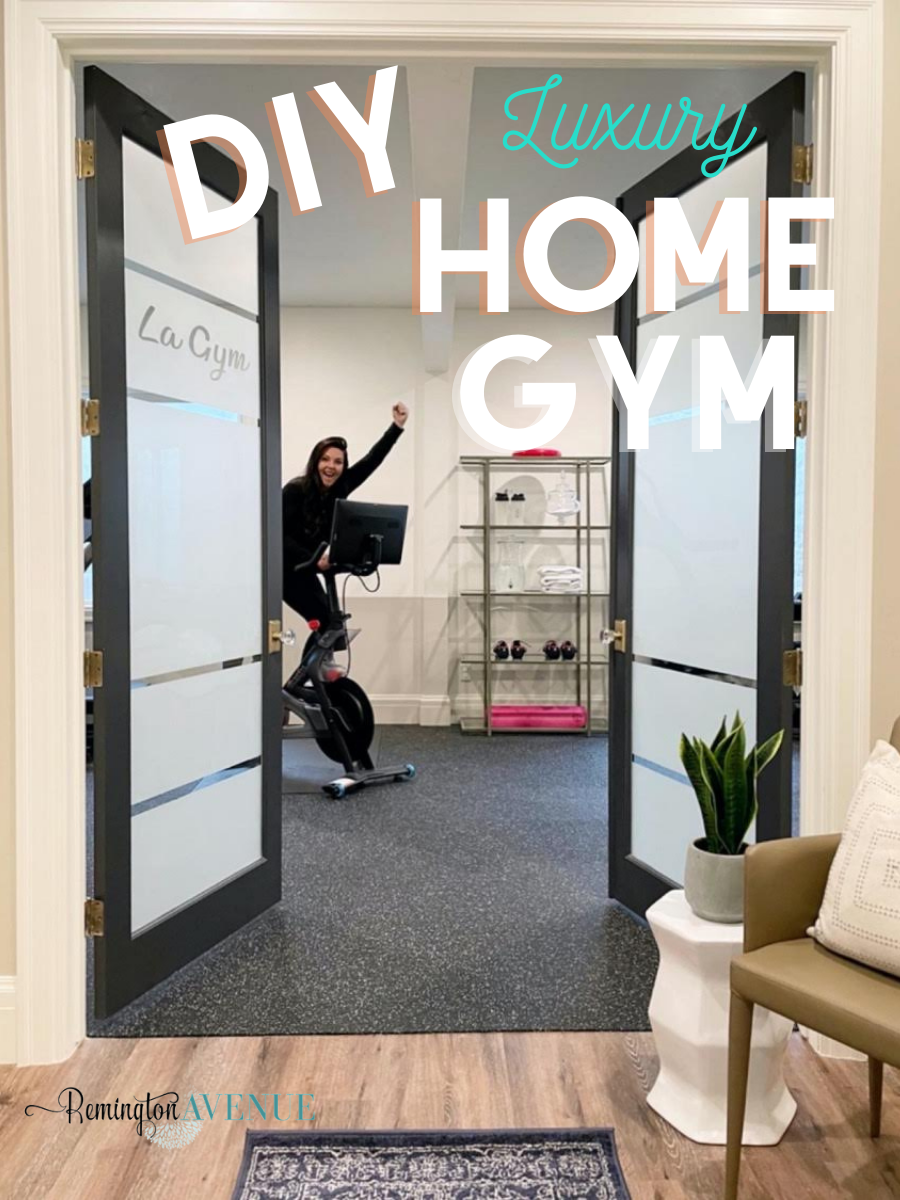
After we installed the rubber flooring, we added the glass door and added the ‘La Gym’ frosted cutout which fully brought my vision to life! See highlight HERE. These details really elevate the gym to a spa like retreat!
Q: How big is the room?
The gym room size is 26ft x 14ft.
Q: Was the Home Gym always the plan or was Covid impetuous? Did you create that beam in the room specifically for the punching bag? Was this space a garage?
It was going to be 2 bedrooms in our house plans. But after all, we installed structural wood beam and opened it up with plans to do this gym in our basement.
Q: Where can I find that blue runner rug you have right before you walk into the gym?
Click HERE for the link. The one I have comes in multiple colors and sizes. I got the 20ft long one and it’s only $123. Great Value.
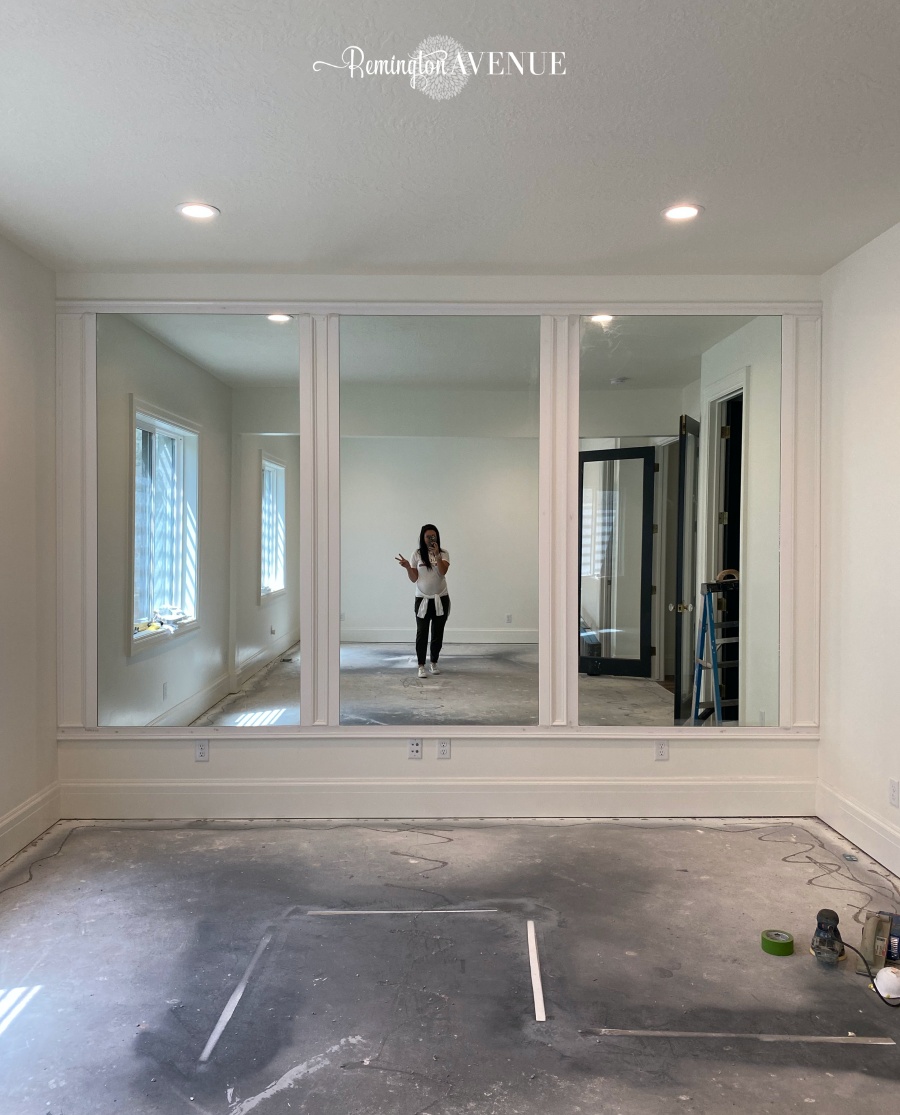
Q: How did you install the mirrored wall? / Dimensions of the mirrors and how did you have them cut?
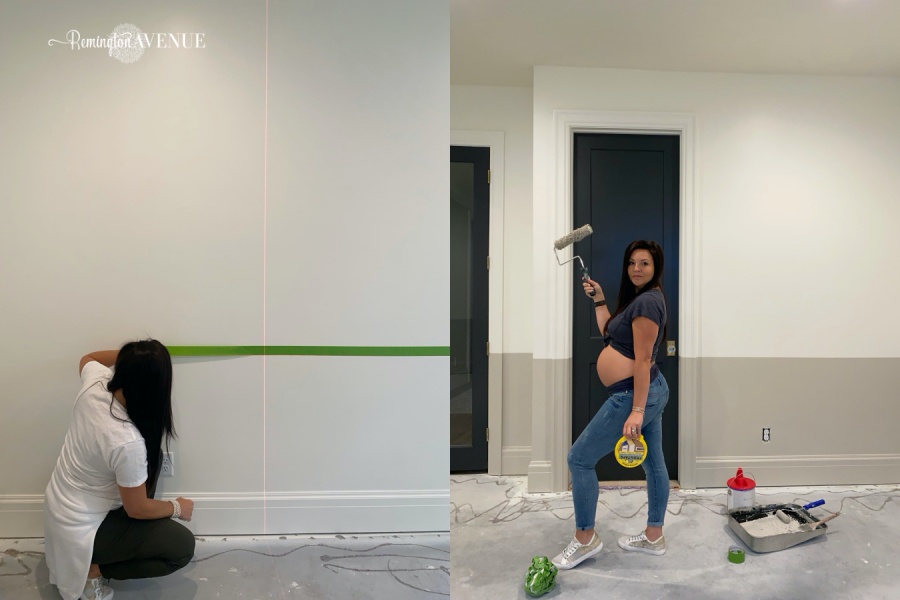
I started by measuring my wall, which is 114″ tall and 158″ wide. I subtracted 8 inches for my baseboards and that left me with 106″ to work with for mirrors and molding. With mirrors, the bigger you go, the more expensive. Then I did a to scale drawing and ended up with 3 93″ X 42″ mirrors trimmed out with 8″ gaps between them. Framed mirrors can be very expensive. So I did not order framed mirrors, I framed them out with molding myself. So they look framed into the wall. If you want to save even more money, you can order smaller mirrors that are pre-sized and hang them together! You will just have a seam in between them.
Before ordering the mirrors, I taped it out on the wall just to double check I had all of the sizing correct before spending too much money on the mirrors.
As with any project and definitely for our home gym reveal…When in doubt, tape it out!
To adhere the mirrors to the wall I used something called “Mirror Mastic”, it’s specifically used to adhere mirrors to walls so they don’t come crashing down.
Q: Where do you order custom mirrors for your Home Gym Reveal?
Finding local custom glass manufacturers and creators are great! And you can simply search on Google! When I was looking to order mine I got three estimate quotes and each mirror was going to be about $700-750. But then I called one of my local auto glass shops and got a quote for $900 for all three of them! So definitely check your local shops for these larger mirrors.
Q: How do you determine the dimensions the molding around the mirrors?
I used 2 1/4″ wide MDF casing to trim out my mirrors in addition to some thin molding. The casing is thicker so the mirrors are able to rest on it in addition to the adhesive they put on the wall. You can cut them down to the length you need so I cut them down to 14′ lengths so they stretched all the way across the wall. I applied construction adhesive to the back of the molding. I already had my studs marked, so then I just used a level and nail gun to nail it into the studs. Once the mirrors were installed, I added the top piece of molding onto them. Always start in the middle and nail it into a stud and then secure the sides. I usually don’t worry about using a level here because everything is sitting on top of the bottom molding piece which I know is level.
Next I measure my for my vertical pieces!
There was 1/8″ difference between the left and right side of the wall, so I cut some of my pieces an 1’8″ longer to avoid gaps. Next I hung the vertical pieces on either side of each mirror using a nail gun and criss-crossed the nails to secure them to the wall. Once those were done, I added the extra molding for a little bit of detail. I used a panel cap molding on the top and bottom so it would overlap some of the 1X2″ to avoid having an outlet issue. And then I used a base cap around each 1X2 mirror frame. I cut the base cap pieces at a 45 degree angle and each vertical piece measured 86″ from the longest point.
After those pieces were installed, I went back through and caulked and patched all the seams. And when that dried I sanded it to get it ready for paint.
Q: What are the faux wainscoting / Wall colors?
I used my laser level to project a horizontal line onto the wall that is perfectly level so that I could paint my take on a modern chair rail. Typically a lot of chair rails are 32″ for 8ft ceilings. A lot of ceilings now are 9 or 10 feet so it’s important to think of the wall in 3rds to get the proportions right. I used my favorite tape – Frogtape to tape along the laser line. As I applied it I went back over the edge with the back of my finger nail to make sure there were no air bubbles. I also painted through the window and door casings.
The top is Benjamin Moore Simply white – this is the color throughout my house.
And the bottom is Revere Pewter by Sherman Williams.
Pro-tip: paint the base color along the tape line to fill in any air bubbles so when you paint over it with your accent color, no color bleeds though. I started with an angled brush and went along the casing and any other details like outlets and corners. Then I took my roller to do the rest of the wall. Remember always 2 coats of paint on each step.
Q: What flooring did you use and was it cost effective?
I went with a grey speckled rubber flooring that is 3/8″ thick and they are 2’X2′ tiles. Once all the tiles are together, you can’t even see the seam! And you can order pieces with a flat edge so it reduces the amount of cutting you have to do. You can clean this with warm water and a neutral ph cleaner.
We ripped out the carpet in the room and just laid the tiles right on the concrete. No adhesive required! I started at one wall and just worked my way down the room. You can order this in rolls, but I think the tiles are an easier DIY and more seamless. If you have anything in your floors (like I had an air vent) I just took my exacto knife and cut around it so the vent face could go in on top of the flooring.
Another option that you guys mentioned that could be more economical is to go to a local feed store and look at barn flooring or stall flooring. This is also very absorbent!
Q: Where did you get your “you got this” decal for your Home Gym Reveal?
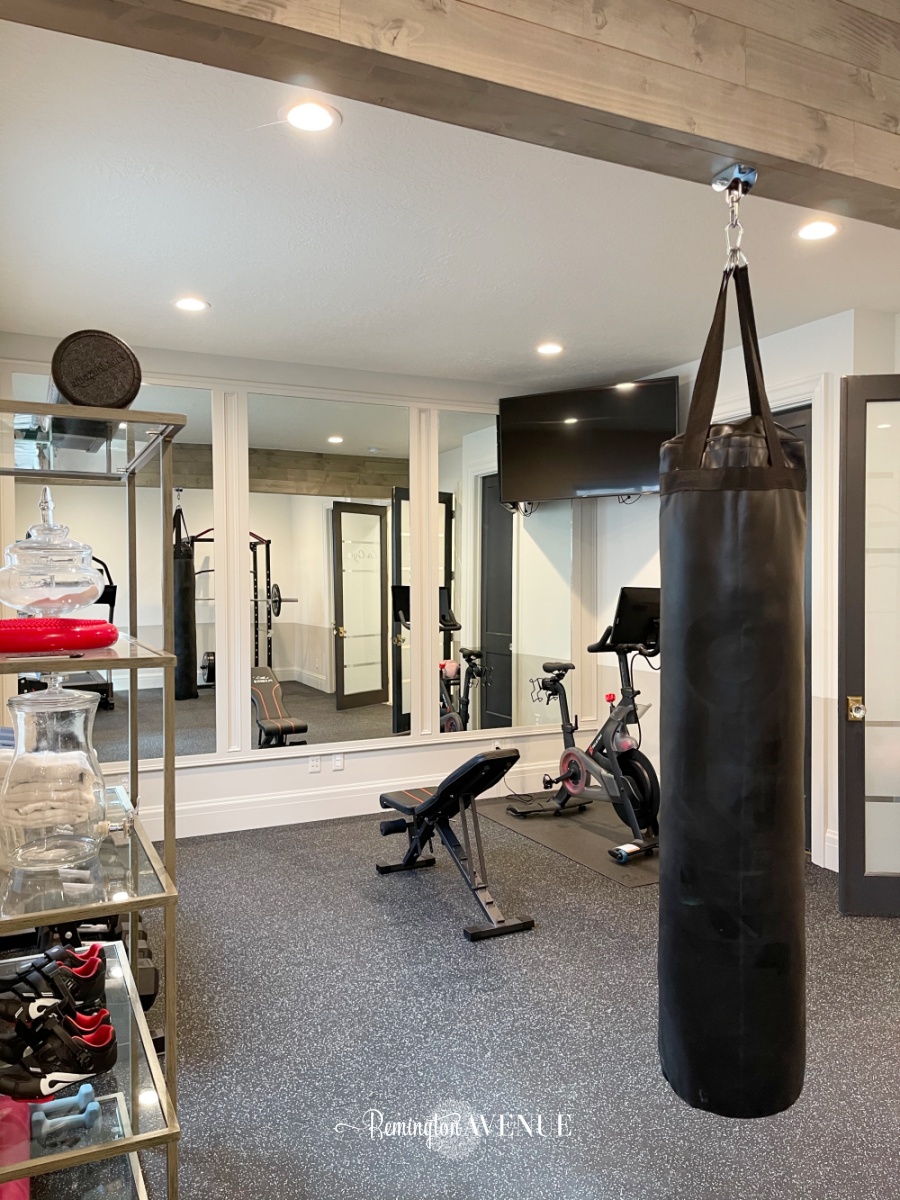
My brother in law cut it out for me with his vinyl machine, but your could do this at home with a circuit.
The shelf is linked HERE. And I have it styled with some of the more eye-appealing gym necessities such as blender bottles, towels, our cycling shoes, a yoga mat, and some of my favorite pre – workout. It gives it an elevated look for sure!
I am slowly getting back to my pre-baby body! But more so, I just love being in this space to feel like me! I am a happier human when I workout! What about you?
Let me know if you have any other questions on our Home Gym Reveal in the comments!


 Add to favorites or read later
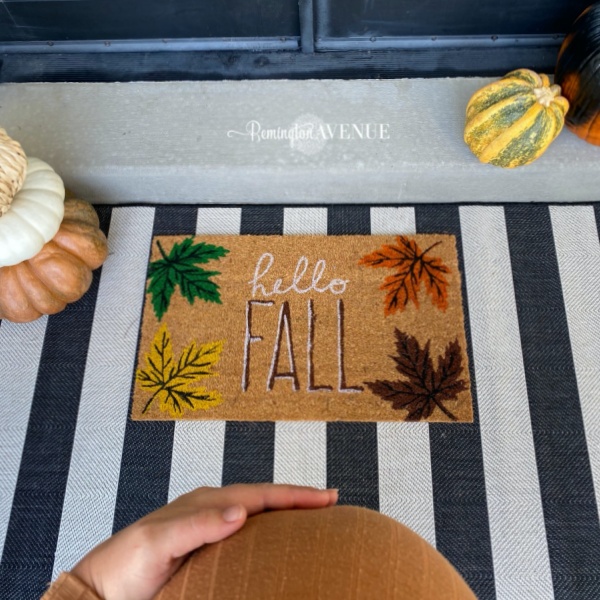
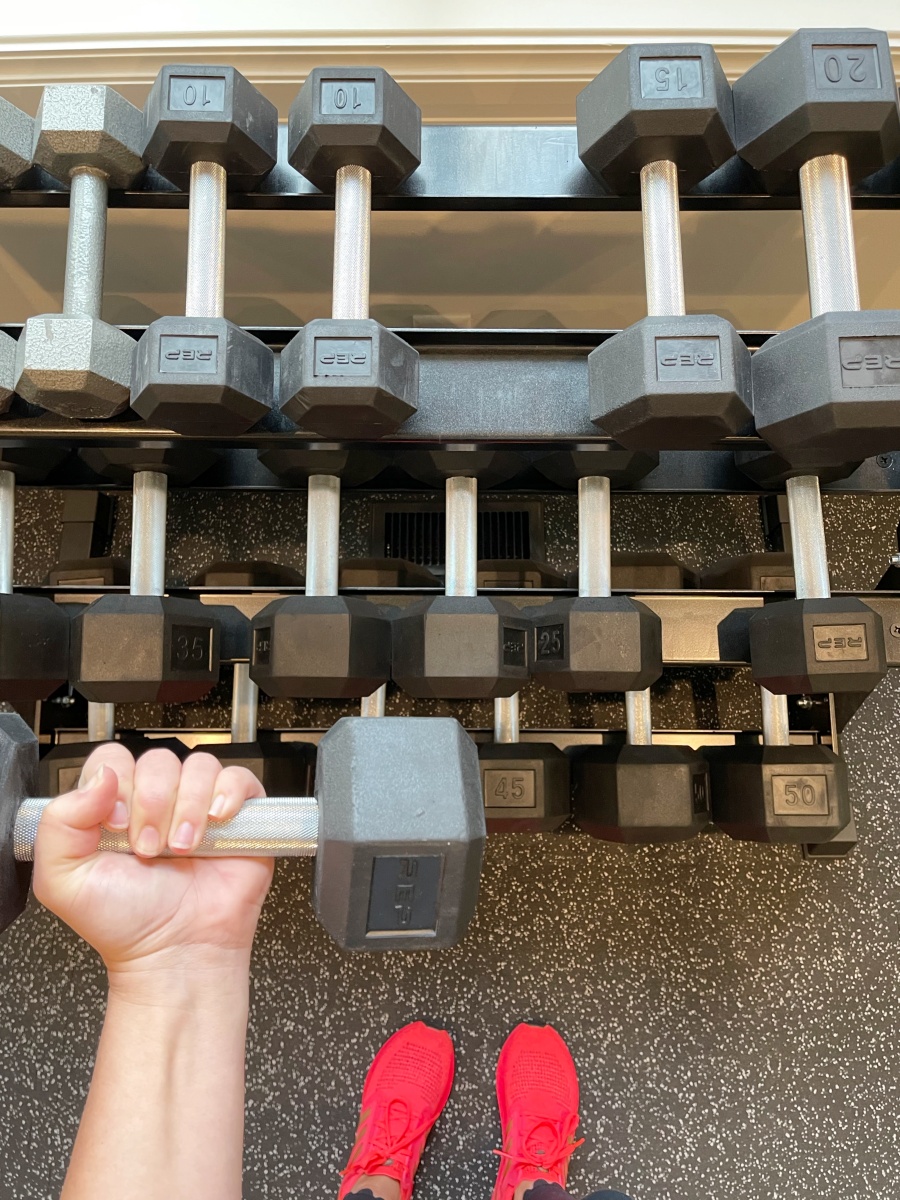
Where are your shoes from? 💗
Everlane