Mitered Seam Box Beam Tutorial
Let’s build some beams! Now, some of you might remember that I’ve built box beams before. I built some for Juni’s nursery, and three in my upstairs hallway. But those beams have butt joints. This time I wanted to try to build my beams with a mitered joint, which is two 45 degree corners put together to create a seamless look. And I’d say I did a pretty good job building these mitered seam box beams, because there’s no seam in sight! Follow along in my simple mitered seam box beam tutorial below.

Mitered Seam Box Beam Tutorial
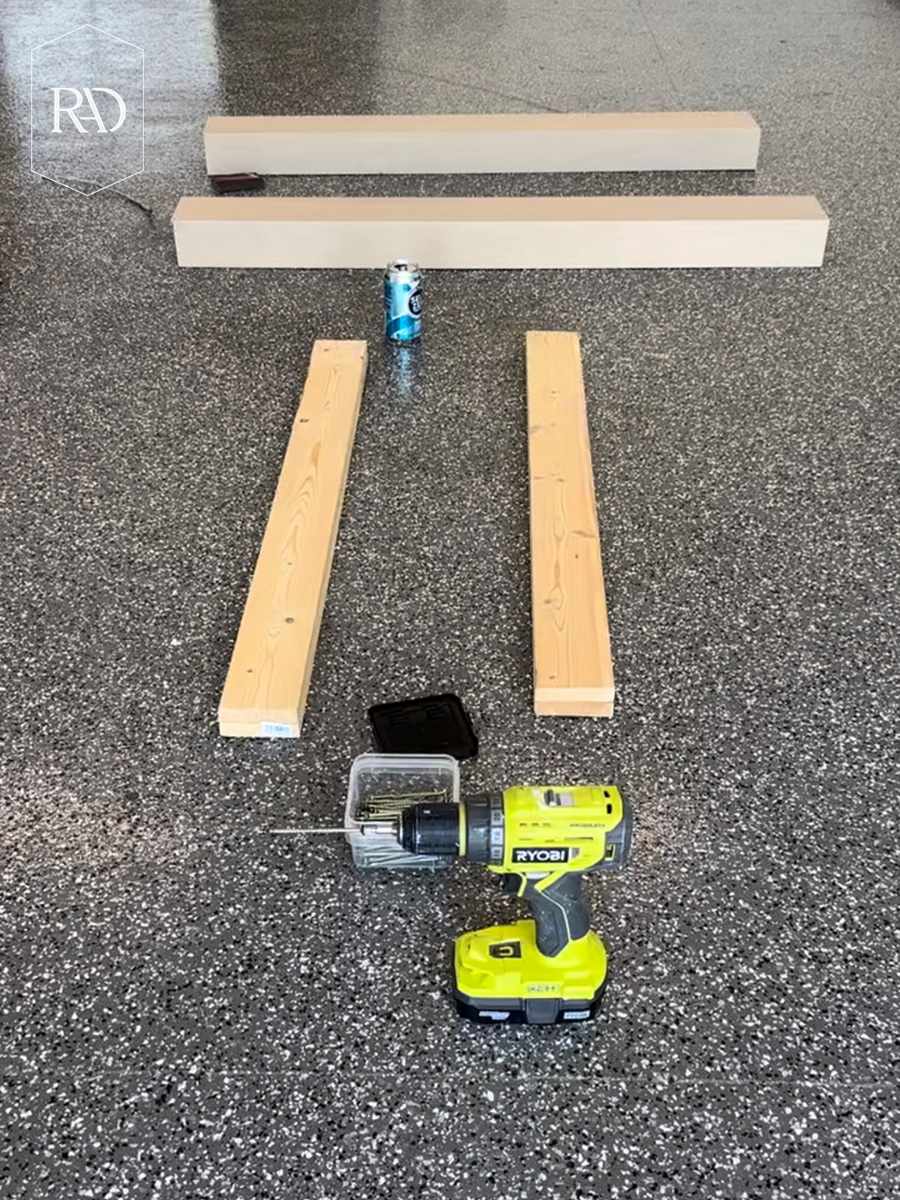
Supplies
Tape
Superior alder wood
Scrap wood
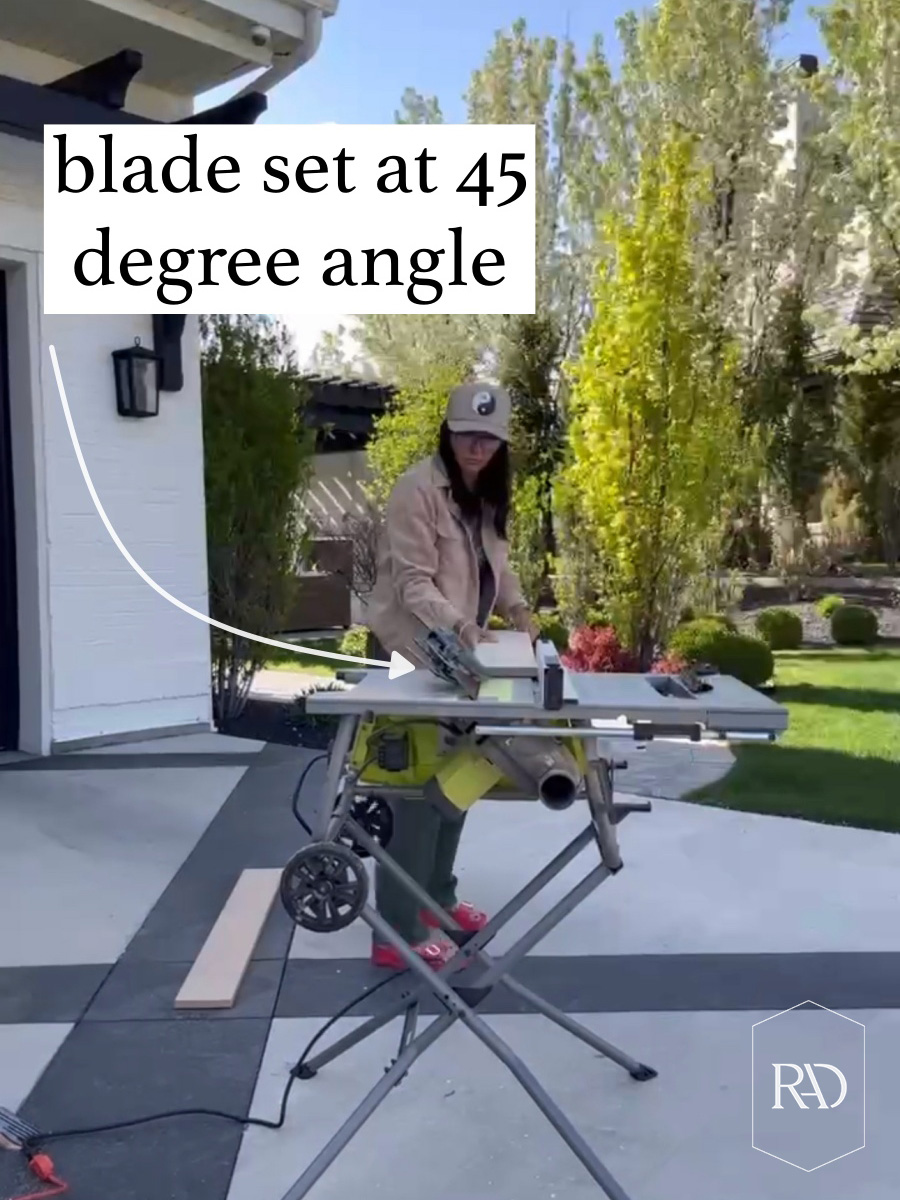
To start, I cut my wood pieces down to size. Then I ripped down the long edges at 45 degree angles using my table saw. Each side piece of the beam will have one mitered edge, while the bottom piece will have two mitered edges.
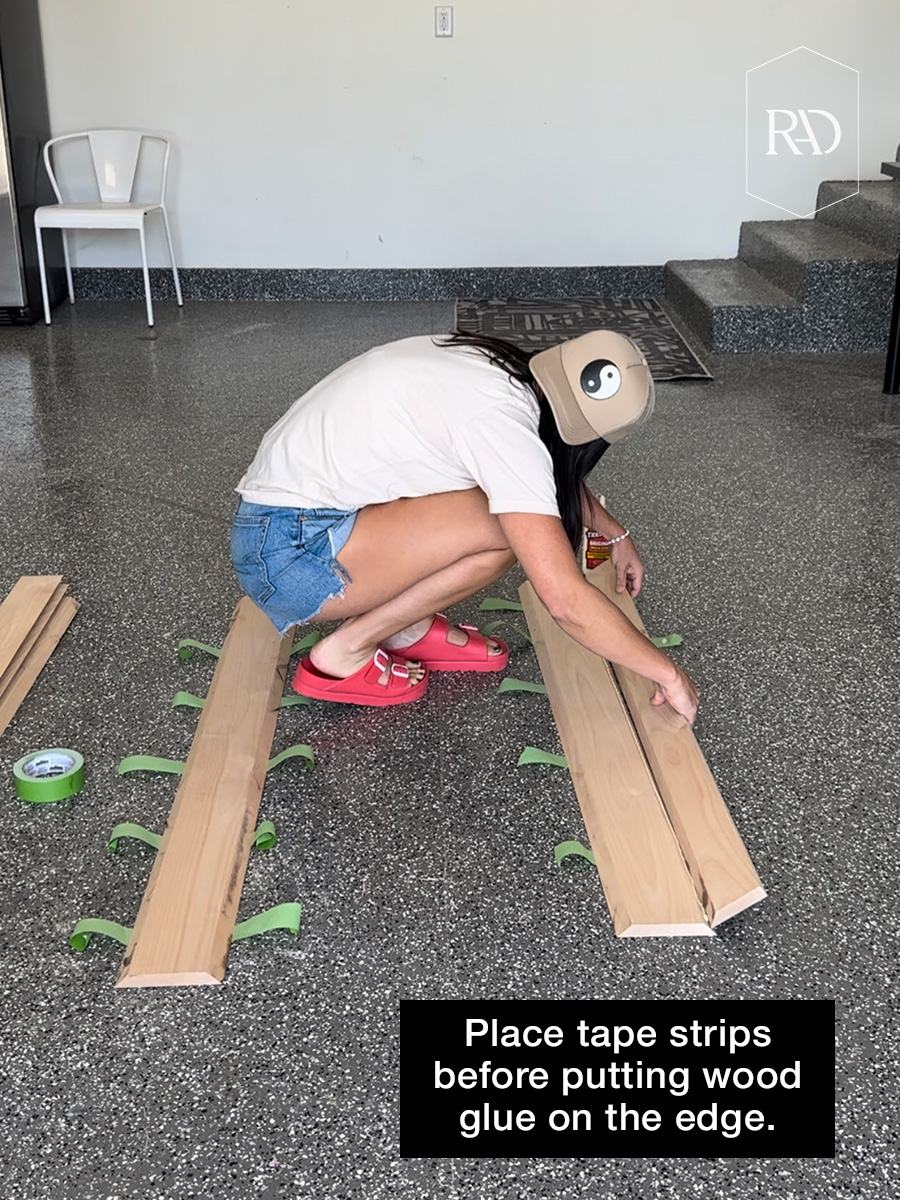
Once the pieces were cut, I laid them out and applied wood glue to one of the mitered edges of the bottom piece. I set the side piece in place and used tape to secure it while I did the other side.
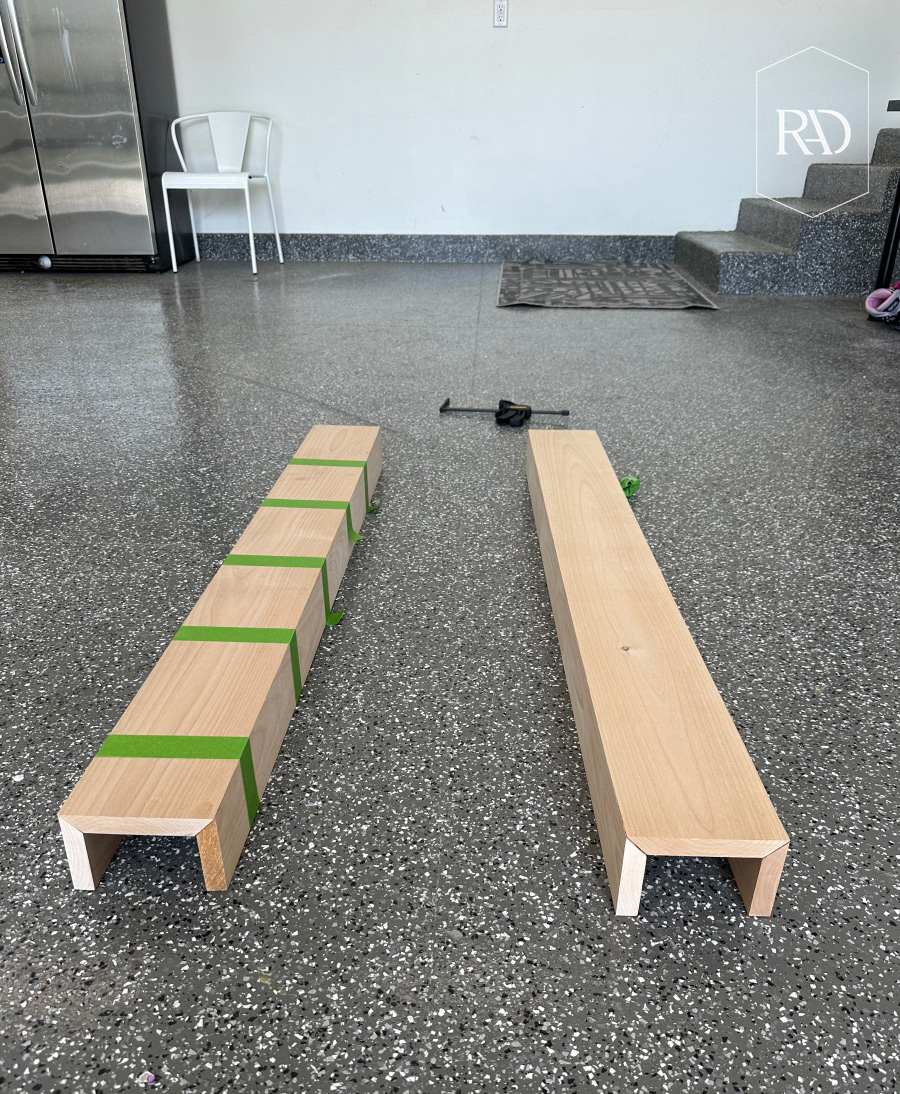
With both sides taped in place, I carefully flipped the beam over and put clamps on to secure the side pieces even tighter while the glue dries. One of my boards was a little bit warpy so using the clamps really helped to set everything right into place and create a super tight seam.
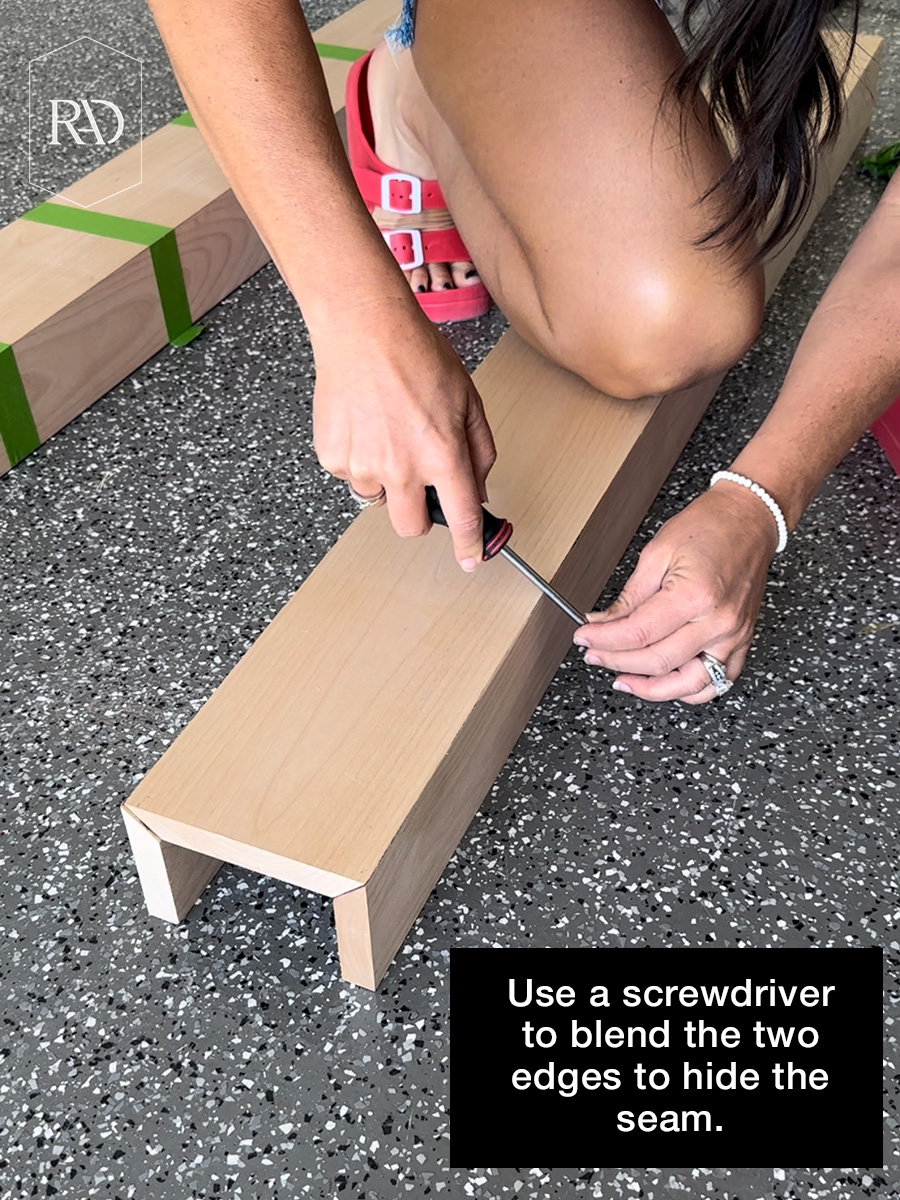
Tip: The screwdriver trick – This replaces wood filler. Take the neck of your screwdriver and rub it against the seam where the two pieces meet to make the wood go together.
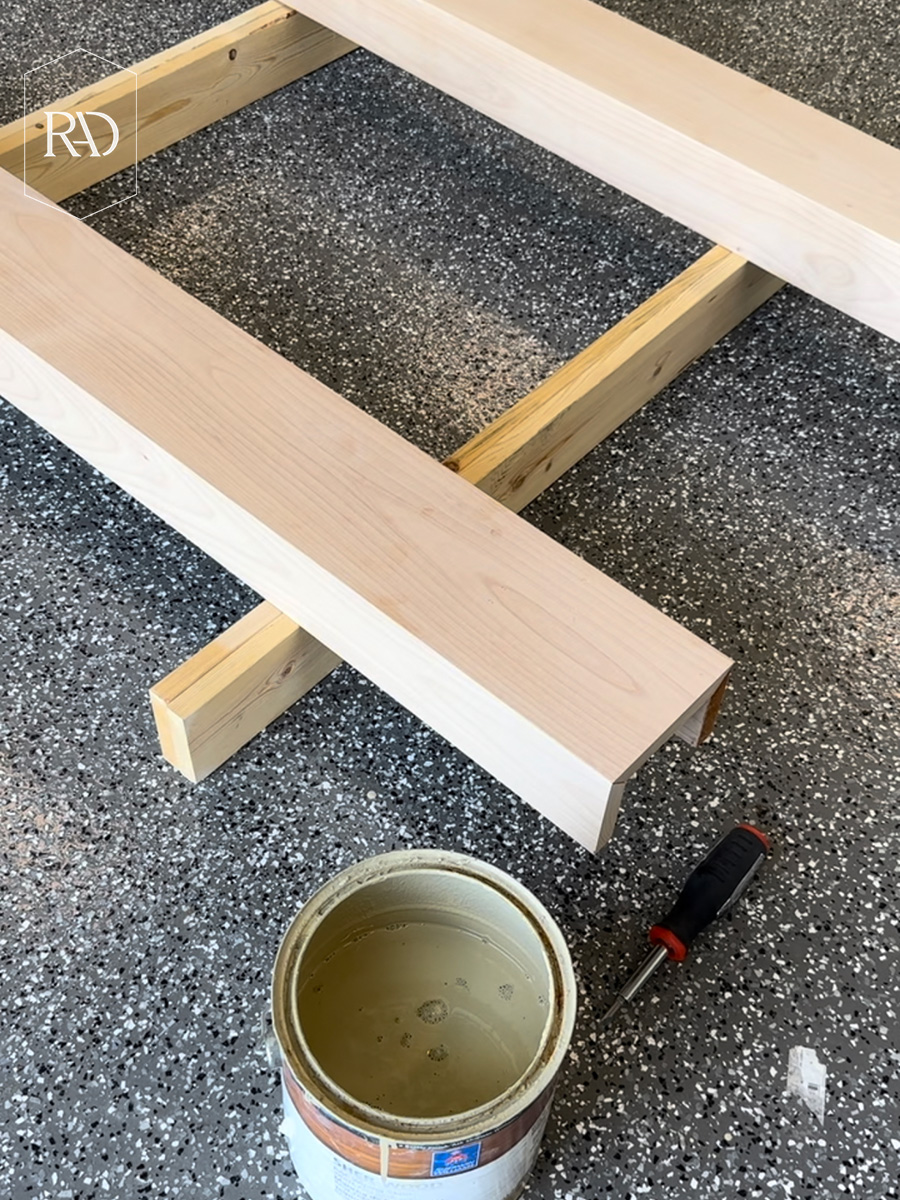
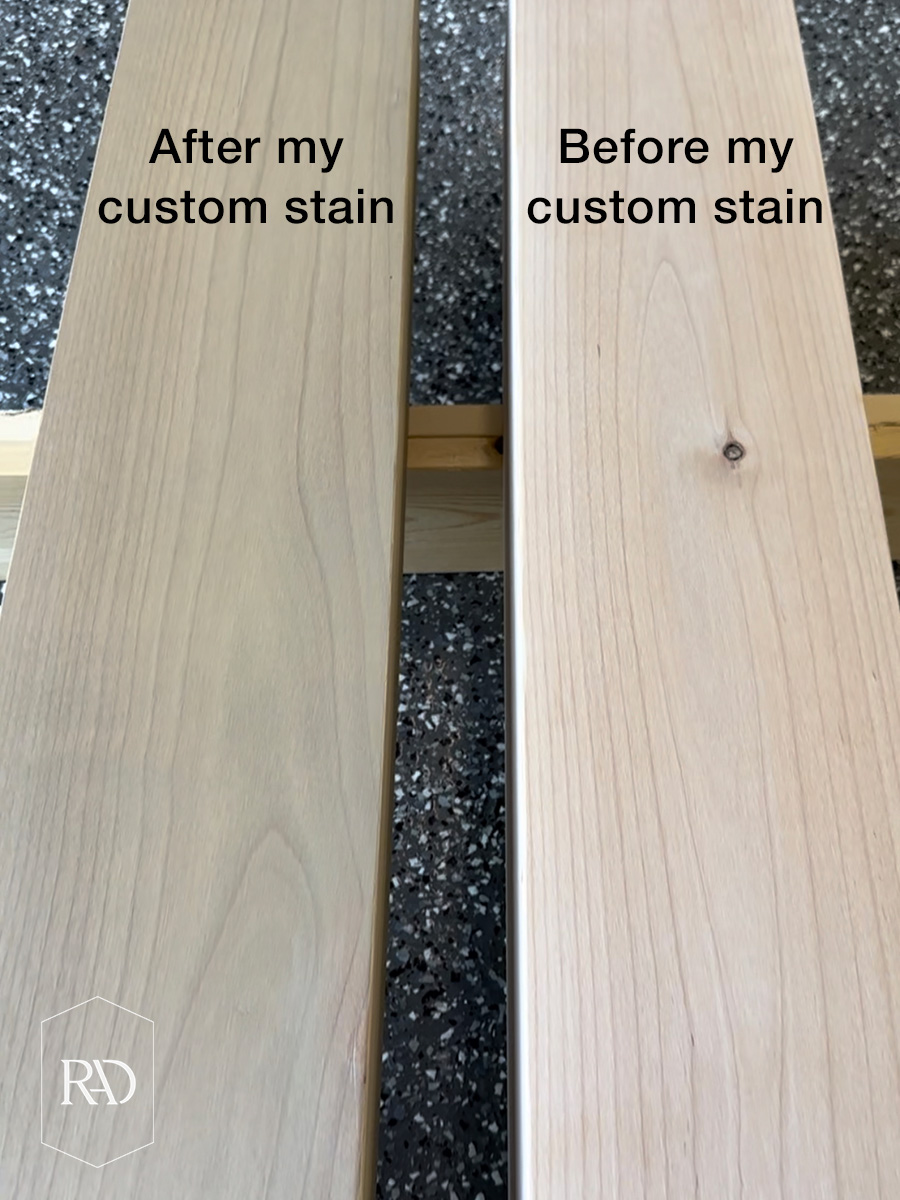
After the glue was dry and everything was held together, it was time to stain them! I built these beams out of superior alder. We have white oak flooring and white oak accents throughout our home, so I wanted to replicate that look on a budget. To do that, we did the alder beams. And then my painter came up with this custom stain that has kind of a green tone to it which takes the red tones out of the alder. Once it’s all dry, the beams match my white oak floors almost identically!
Reminder: Lay your staining rags flat outside to dry before disposing. If you throw them out wadded up wet, they can spontaneously start on fire. Lots of house fires cause by this!

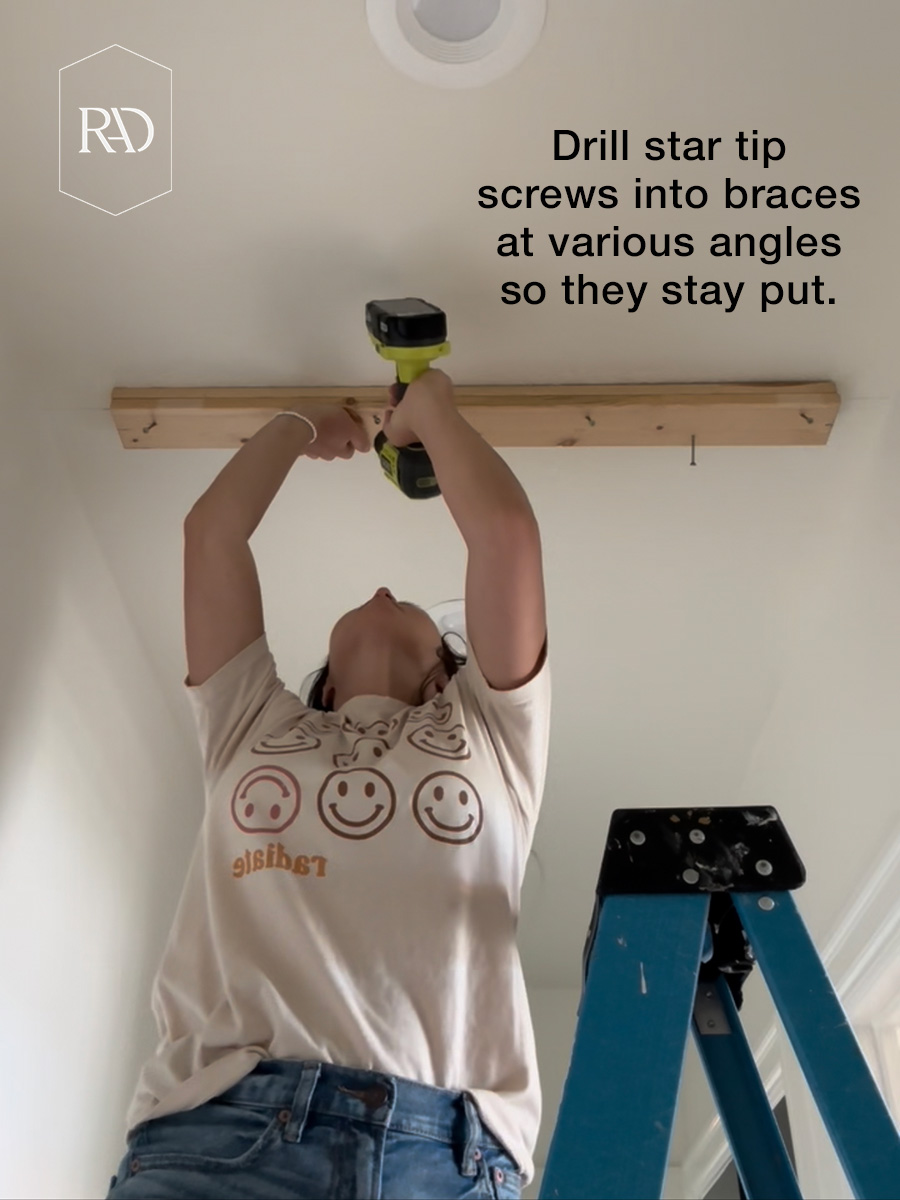
Time to install these beams!
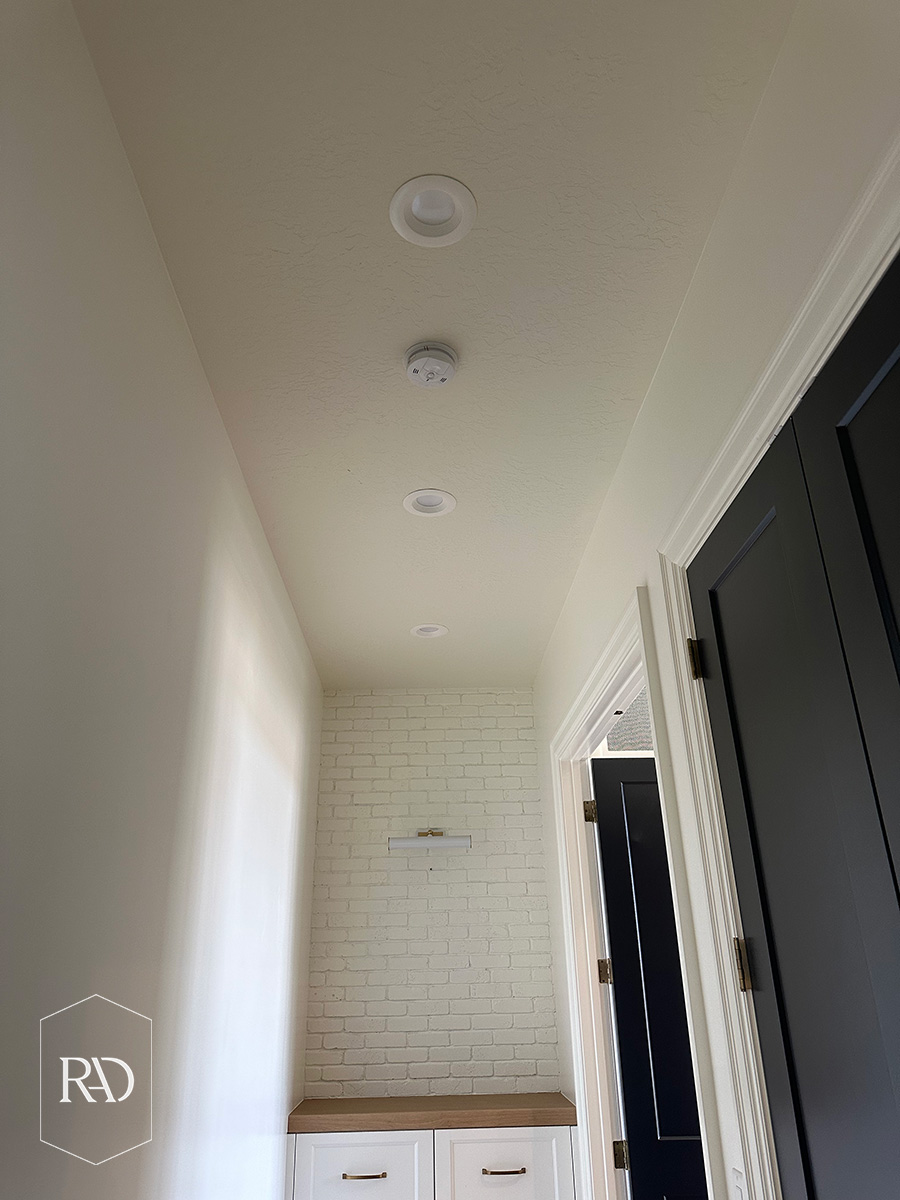
I used scrap wood for my braces. I started by pre-screwing star tip screws at different angles. This makes it so once they’re installed, they’ll grab hold of the ceiling. No studs needed. Because the screws go into the ceiling at different angles, this grips the ceiling super tight and trust me, they won’t budge.
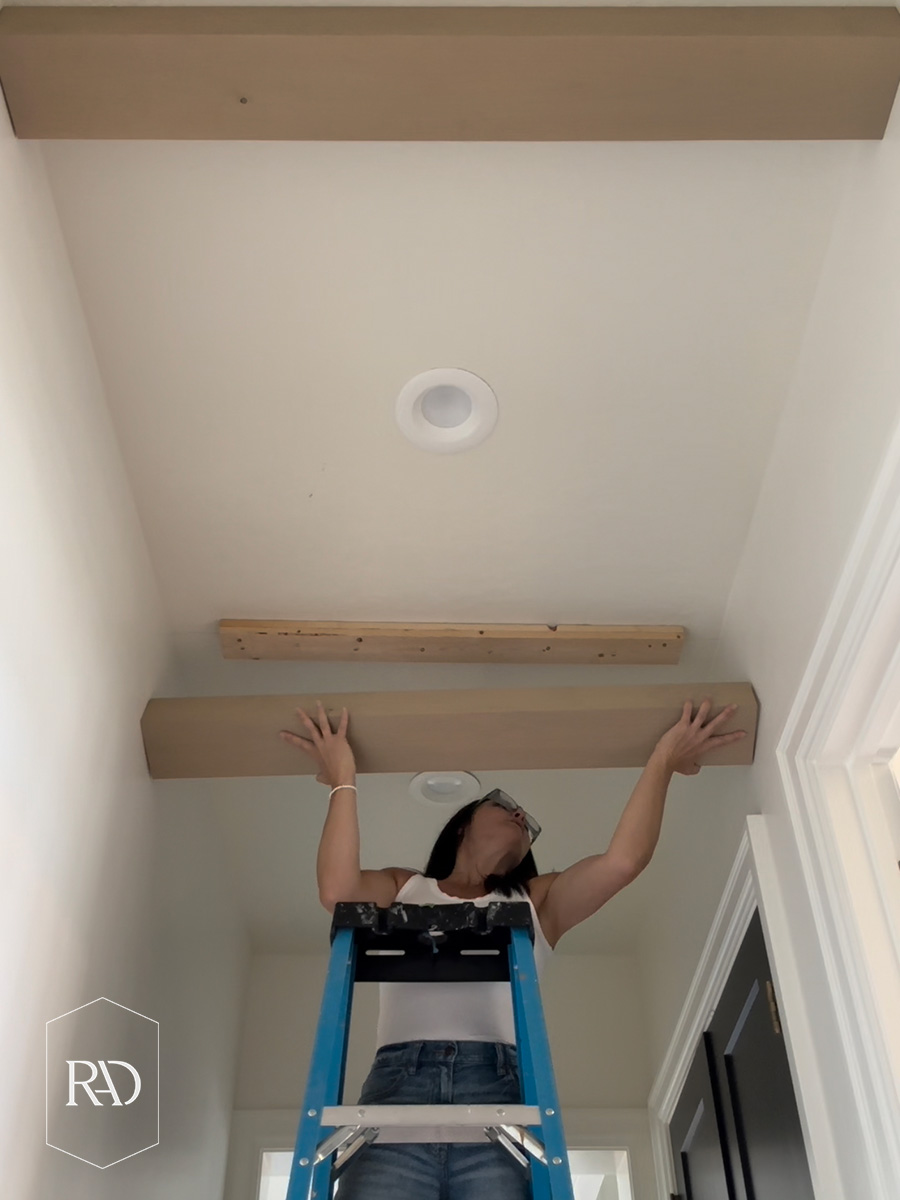
I ended up adding spacers to the inside of my box beams because there’s about a quarter of an inch difference between the braces and the inside of the beams. So I added an eighth of an inch spacer on each side so it’s a nice snug fit.
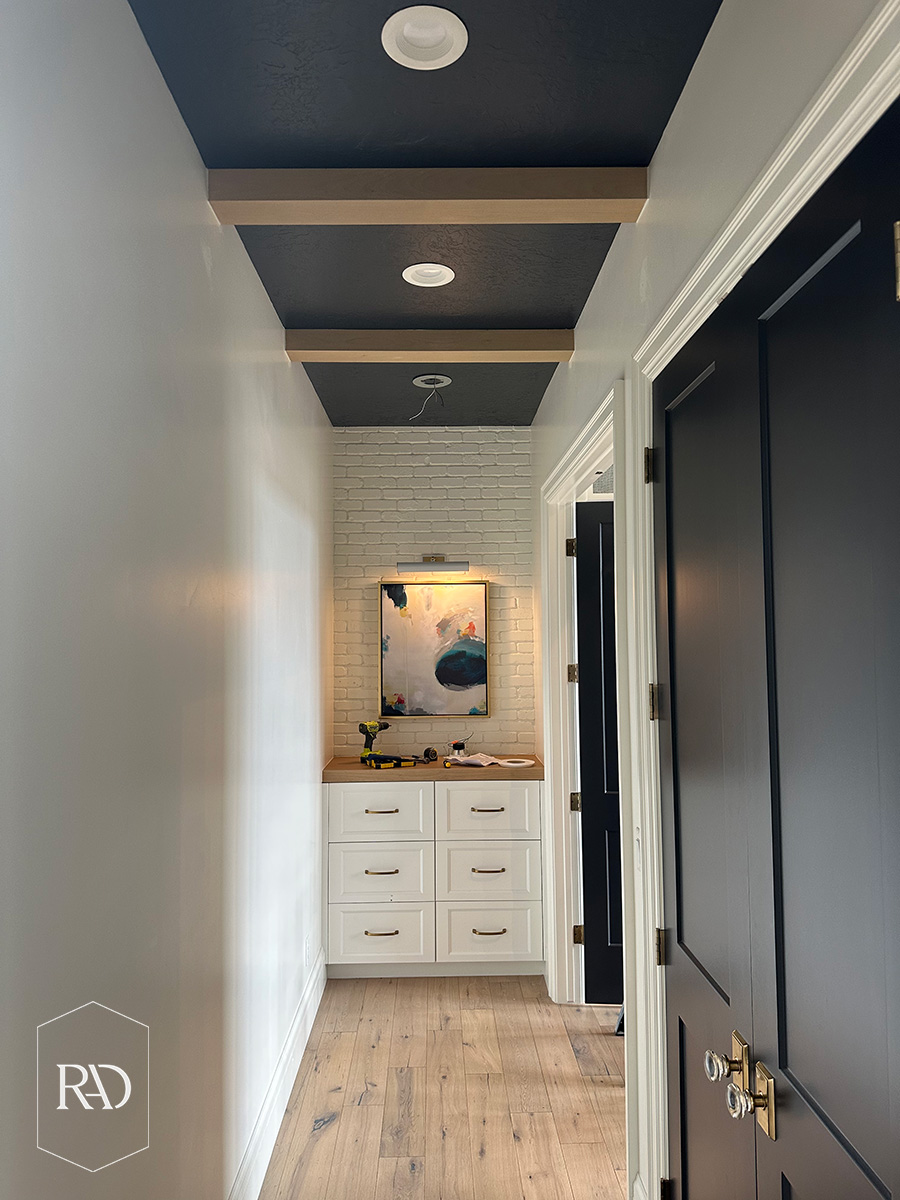
Nail your beams into the braces, and voila! You have mitered seam box beams!
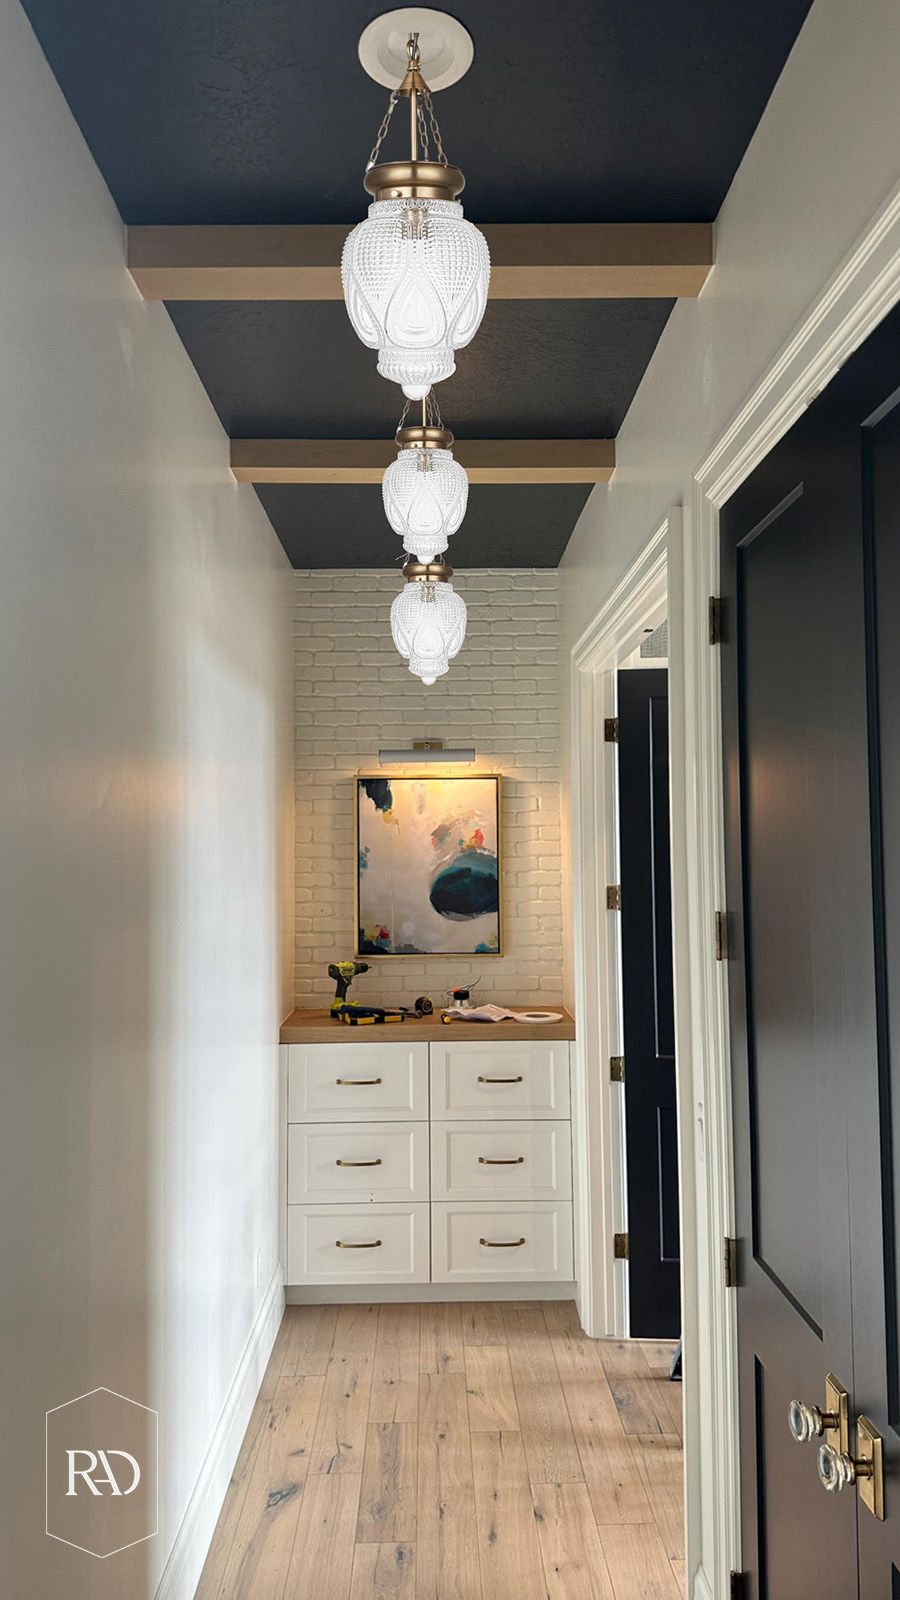
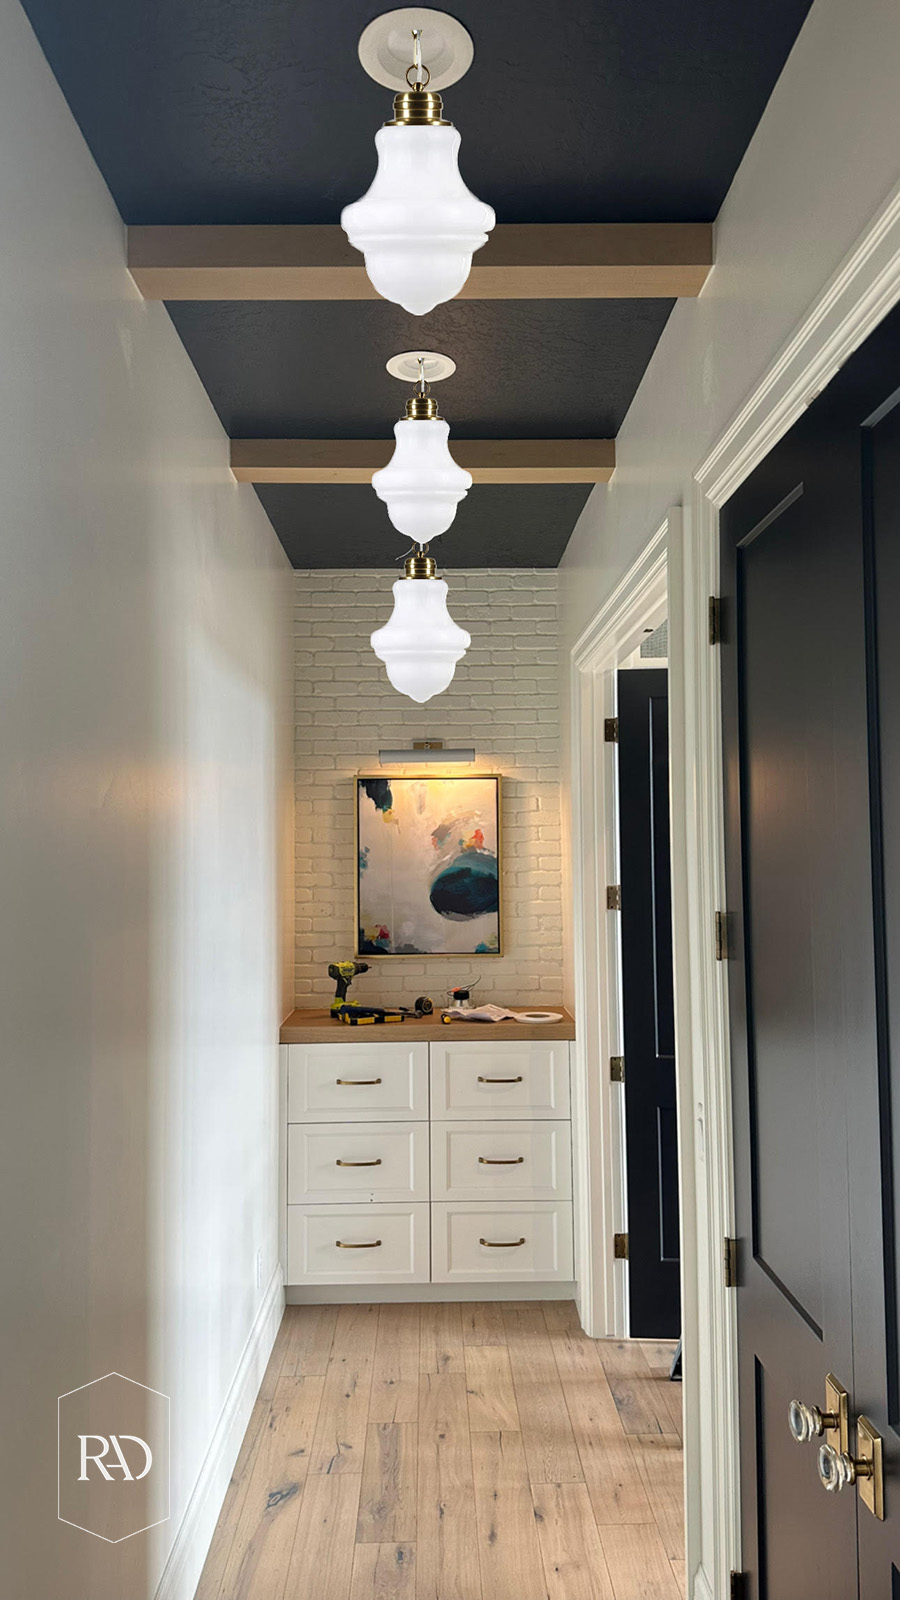
If you have any cracks that need to be filled, that’s where the backer rod comes in. You just stuff it into the cracks and then you cover it with caulk. I ended up painting my hallway ceiling dark to match my doors and changing out the can lights for pendant lights. Which is your favorite pendant option? The clear glass option or the milky glass option? Both linked below.
Click on the links below to shop!


 Add to favorites or read later